

Our Verdict
Neither dry heat nor moist heat is universally superior - each performs a specific job. Dry heat excels at developing crust, caramelization, and concentrated flavor in tender, well-marbled, or naturally firm ingredients. Moist heat is the right tool for tough cuts, delicate proteins, and vegetables where texture preservation matters. Understanding these distinctions is one of the most practical upgrades any home cook can make.
| Best for | Recommended |
|---|---|
| Tender cuts, skin-on poultry, firm vegetables, and anything where a browned crust is the goal | Dry Heat |
| Tough, collagen-rich cuts, delicate fish fillets, and starchy vegetables needing even, gentle cooking | Moist Heat |
| Dishes that require both depth of flavor and fall-apart tenderness | Combined (sear then braise) |
What Separates Dry Heat from Moist Heat
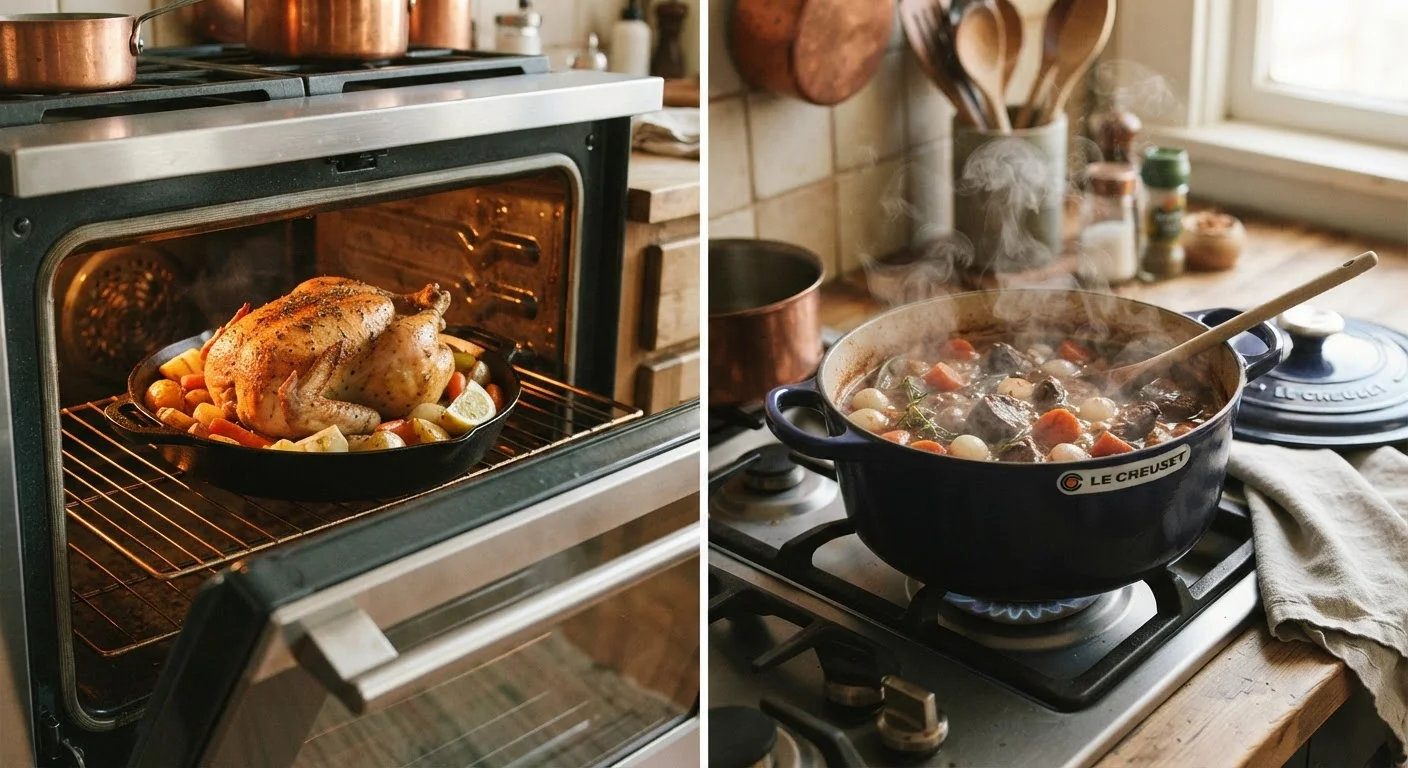
Cooking methods fall into two broad categories based on how heat reaches the food. Dry heat uses air, radiation, or direct contact with a hot surface - no water involved. Moist heat transfers heat through liquid or steam. That single distinction cascades into dramatically different outcomes in texture, color, and flavor.
With dry heat (roasting, grilling, sautéing, broiling), surface temperatures can exceed 300°F, which triggers the Maillard reaction - the chemical browning process responsible for crust, toasty aromas, and savory depth. For a detailed look at that chemistry, see how heat transforms food through browning.
Moist heat methods (braising, steaming, poaching, simmering) cap effective cooking temperatures at or below 212°F - the boiling point of water. Browning cannot occur in that environment, but prolonged, even heat dissolves collagen into gelatin and gently firms delicate proteins without drying them out.
| Dry Heat | Moist Heat | |
|---|---|---|
| Methods included | Roasting, grilling, broiling, sautéing, baking | Braising, steaming, poaching, simmering, stewing |
| Max surface temperature | 300°F-500°F+ | Up to 212°F (water's boiling point) |
| Browning / Maillard reaction | Yes - crust and caramelization develop | No - browning cannot occur in liquid |
| Best protein types | Tender, well-marbled, or skin-on cuts | Tough, collagen-rich, or delicate cuts |
| Best for vegetables | Root veg, firm squash - concentrated sweetness | Leafy greens, legumes - preserved color and nutrients |
| Time required | Often shorter - high heat cooks fast | Often longer - low-and-slow needed for collagen breakdown |
| Moisture outcome | Reduces surface moisture; concentrates flavor | Retains or adds moisture; produces cooking liquid |
When Dry Heat Delivers Better Results
Dry heat is the right choice when your goal is surface texture, concentrated flavor, or caramelization. It works best with ingredients that are naturally tender, have adequate fat content, or are firm enough to withstand aggressive heat without turning fibrous.
- Poultry with skin on: Dry oven heat renders subcutaneous fat and crisps skin. Moist heat turns skin rubbery and pale.
- Tender beef cuts (strip, ribeye, tenderloin): High-heat grilling or pan-searing develops a flavorful crust without the extended cook time that would make them leathery.
- Root vegetables (carrots, parsnips, beets): Roasting drives off surface water, concentrating natural sugars into caramelized edges.
- Bread and pastry: Oven heat sets structure and drives crust formation simultaneously - baking science relies entirely on dry heat.
Dry the Surface Before Dry-Heat Cooking
Excess moisture on the surface of meat or vegetables steams the food rather than browning it - a phenomenon sometimes called 'steaming in your own juices.' Pat ingredients thoroughly dry with paper towels immediately before they hit the pan or oven. For poultry, uncovered refrigerator resting overnight dramatically improves skin crispness without any other intervention.
Because surface moisture slows browning, patting ingredients dry before applying dry heat is one of the highest-impact steps a cook can take. Salt draws moisture to the surface - give it enough time to reabsorb before cooking, or use it immediately. When and how you salt changes results significantly.
When Moist Heat Is the Smarter Choice
Moist heat methods shine wherever the ingredient needs time and gentle, penetrating heat to become palatable. Tough cuts, dense starches, and delicate proteins all benefit from liquid or steam as the medium.
- Collagen-rich cuts (chuck, short rib, shank, oxtail): Braising at low temperatures over several hours converts collagen to gelatin, producing fork-tender meat with a silky sauce. Braising and stewing differ more than most cooks realize - the cut-to-liquid ratio is critical.
- Delicate white fish: Poaching in barely simmering liquid (court bouillon, wine, or seasoned water) firms protein gently without the sudden heat shock that causes it to seize and dry.
- Leafy and cruciferous vegetables: Steaming preserves water-soluble vitamins and bright color better than boiling, while still achieving the desired softness quickly.
- Dried legumes and grains: They require rehydration and starch gelatinization - only moist heat accomplishes both.
A good braising liquid becomes an asset in its own right. The choice of stock or broth directly shapes the character of the finished sauce.
Combining Both Methods for the Best of Each
Professional kitchens rarely rely on one method alone. The most effective technique for many dishes is sequential: apply dry heat first to develop surface flavor, then switch to moist heat to finish cooking gently and build a sauce.
Searing a chuck roast in a hot, dry pan before adding liquid is a classic example. The browned crust created by dry heat - not a moisture seal, as commonly believed - contributes complex flavor compounds to the braising liquid that a raw braise simply cannot replicate.
Similarly, roasting chicken thighs partway through in a dry oven before finishing in a pan sauce gives you crisp skin and a braised interior in the same dish. The pan you use matters too - heat retention determines how evenly that transition occurs.
After any dry-heat cook, resting time is part of the process. Cutting too soon loses juice to the board - a step that costs nothing but patience.
212°F
Maximum effective moist heat temperature
Water's boiling point caps moist-heat cooking, which is why browning reactions are physically impossible in liquid environments.
~154°F
Temperature at which Maillard browning begins
The Maillard reaction accelerates above approximately 280°F on a dry surface, requiring the absence of free surface moisture to proceed effectively.
The content on this site is provided for informational purposes only and should not be considered a substitute for professional advice. While we strive to provide accurate and up-to-date information, we make no guarantees regarding its completeness or accuracy. Always consult a qualified professional for advice specific to your circumstances before making any decisions.