

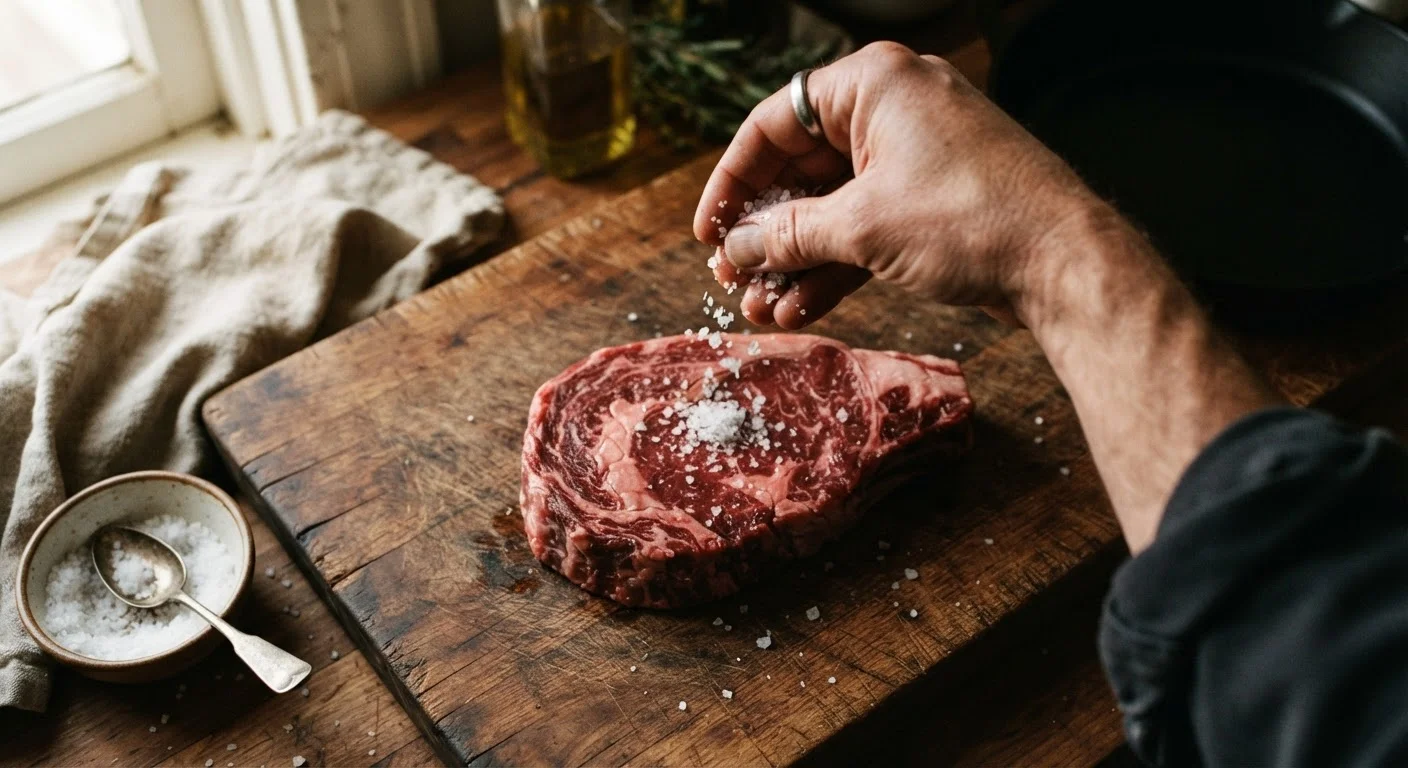
Why Timing Changes Everything
Most home cooks treat salt as a finishing touch - a pinch at the table, a shake over a plate. That instinct isn't wrong, but it captures only one of salt's roles. Salt is also a structural tool: it draws out moisture through osmosis, denatures proteins, and fundamentally alters the texture of food before heat is ever applied.
Understanding when to salt - not just how much - is one of the clearest ways to improve everyday cooking without buying new equipment or changing a single recipe. The core principle is that salt needs time to work. A steak salted 45 minutes before cooking seasons differently than one salted right before it hits the pan. Both are legitimate approaches, but they produce different results.
This is especially relevant when you're making decisions about heat and method. See how salting intersects with technique in our guide to dry and moist heat cooking methods.
Taste Before You Salt
The single most effective salting habit is tasting before adding more. Palates vary, ingredients vary, and recipe measurements are starting points rather than instructions. A quick taste at each stage tells you more than any formula. Keep a clean spoon nearby and use it often.
Tools and What You'll Need
You don't need specialized equipment, but the type of salt you use matters more than most cooks realize.
Kosher salt
The everyday workhorse for cooking - large crystals dissolve well, are easy to pinch and control, and are suitable for seasoning at every stage.
Fine sea salt or table salt
Useful for baking where even distribution matters; dissolves instantly but requires careful measurement since it's denser by volume than kosher salt.
Flaky finishing salt
Added at the end of cooking for textural contrast and bursts of concentrated salinity on finished dishes.
Small mixing bowls or ramekins
Holding pre-measured salt portions at each stage makes layered salting easier and prevents over-salting from pouring directly from a large container.
A quick note on salt types: kosher salt and fine table salt are not interchangeable by volume. A teaspoon of fine salt contains roughly twice the sodium of the same volume of coarse kosher salt. When following a recipe, always check which type is specified - or season by taste rather than strictly by measurement.
How to Salt at Every Stage
Follow these steps in sequence for a full meal - or apply individual stages to whichever component you're cooking. Not every dish requires all stages, but understanding each one lets you make deliberate choices rather than defaulting to habit.
Salt proteins early - or rest them long enough
For steaks, chops, chicken pieces, or fish fillets, salt at least 45 minutes before cooking, or ideally overnight in the refrigerator. In the first few minutes, salt draws surface moisture outward. Given time, that brine reabsorbs into the meat, seasoning it throughout and helping it retain moisture during cooking.
If you're short on time, salt right before the pan - 0 to 5 minutes - so the surface moisture hasn't had a chance to pool. The intermediate window (10-40 minutes) leaves surface moisture sitting on the meat, which can inhibit browning.
Salt vegetables according to your goal
Salting vegetables before cooking serves different purposes depending on what you want. Salting cucumbers or zucchini draws out excess water - useful if you don't want a watery salad or filling. Salting eggplant before roasting can soften its texture and reduce bitterness. For vegetables you're roasting, a light salt before the oven seasons from the start.
For blanched or steamed vegetables, salt the water generously. This is one of the more overlooked stages: vegetables absorb salt during cooking, not after, and well-salted blanching water makes a real difference to the final flavor.
Salt pasta and grain water assertively
Add salt to your pasta water after it reaches a boil - cold water takes longer to boil with salt added, though the difference is small. Use enough salt that the water tastes pleasantly salty on its own. For a standard pot, this typically means a generous tablespoon or more of kosher salt.
The same logic applies to rice and other grains cooked by absorption. Salting the cooking liquid seasons the grain throughout rather than only at the surface after plating.
Build salt in layers during cooking
Rather than salting once at the start and once at the end, add small amounts at each meaningful stage: when aromatics hit the pan, when a sauce begins to reduce, when you add each new ingredient layer. This allows salt to integrate with each component rather than sitting on top of the final dish.
Tasting as you go - not just at the end - is what makes this approach work. You're adjusting continuously rather than correcting at the last moment.
Finish with the right salt for texture and contrast
Finishing salts - typically flaky varieties like fleur de sel or Maldon - serve a different purpose than the kosher or fine salt used during cooking. Their large, irregular crystals don't dissolve quickly, so they provide bursts of salinity and textural contrast when added at the very end.
Use finishing salt on roasted vegetables, grilled meats, avocado toast, chocolate desserts, or anything where a bit of crunch and a salty pop is the goal. Using an expensive finishing salt in pasta water or a brine is a waste - it dissolves and loses everything that makes it distinctive.
For dishes involving a sear, the interaction between salt and surface moisture is especially consequential. Our article on what actually happens when you sear meat addresses how surface dryness affects crust formation.
Common Mistakes and How to Avoid Them
Even experienced cooks fall into predictable salting habits that flatten results. The most common: salting only at the end. A finishing pinch adds sharpness and contrast, but it can't penetrate a piece of chicken or a pot of lentils the way early salting does. The exterior tastes seasoned; the interior tastes bland.
The second mistake is under-salting water. Pasta water should taste noticeably salty - not ocean-level, but assertively so. This is the only opportunity to season pasta from the inside, and most home cooks use a fraction of what's needed out of caution.
Finally, watch for salt stacking: if you're using canned goods (beans, tomatoes, stock), cured ingredients (bacon, anchovies, miso), or soy sauce in a dish, those contribute significant sodium before you add a grain from the shaker. Taste before salting when your ingredient list is already salty by nature.
Watch for Hidden Sodium in Your Ingredients
Processed stocks, canned legumes, soy sauce, fish sauce, and cured meats can contribute substantial sodium before you add a single pinch. Taste your dish after combining salty ingredients and before reaching for the salt. This is especially important when reducing a sauce - flavors, including salt, concentrate as liquid evaporates.
Baking introduces its own set of salting considerations - salt affects gluten development, yeast activity, and overall flavor balance in ways that differ from stovetop cooking. Our home cook's guide to baking science covers where salt fits within the broader chemistry of baking.
The content on this site is provided for informational purposes only and should not be considered a substitute for professional advice. While we strive to provide accurate and up-to-date information, we make no guarantees regarding its completeness or accuracy. Always consult a qualified professional for advice specific to your circumstances before making any decisions.