

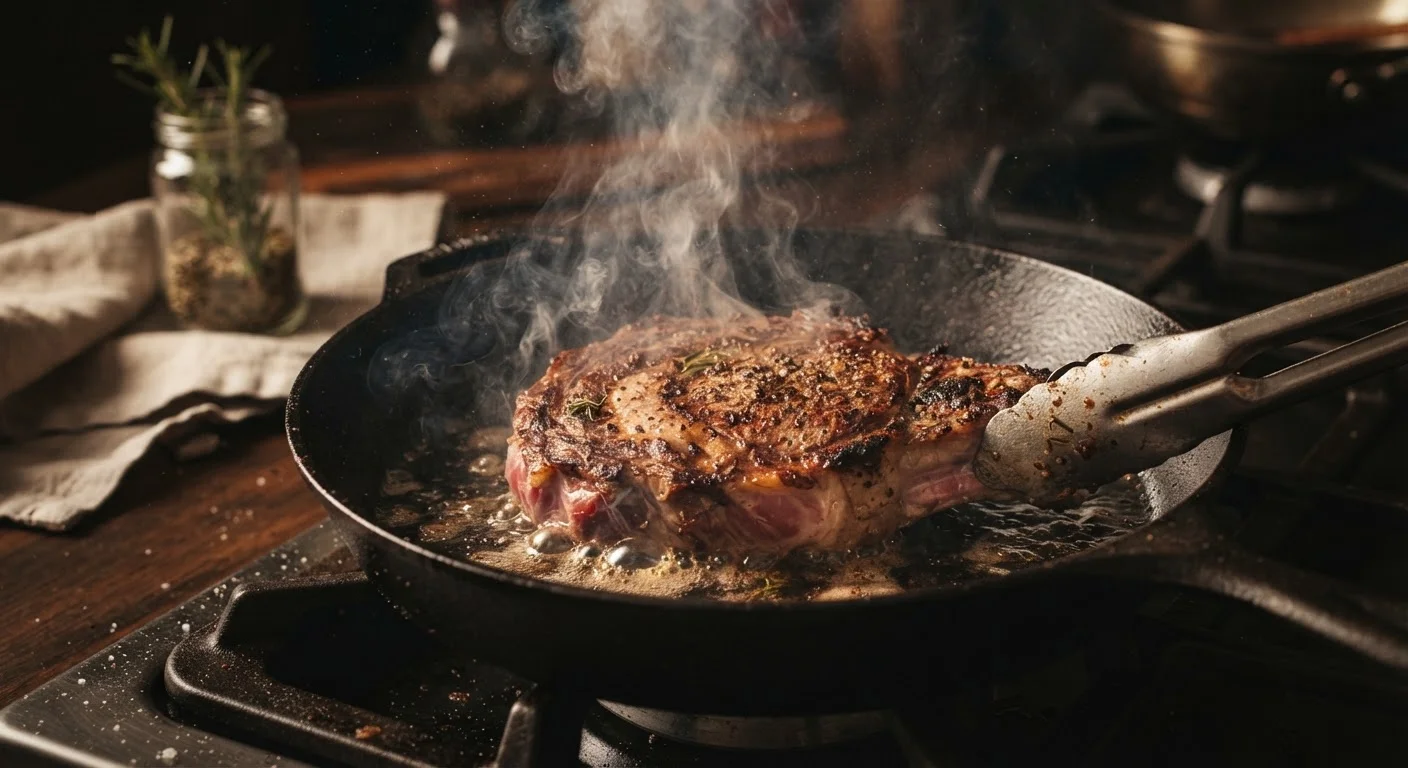
Why Searing Myths Are So Stubborn
Few cooking beliefs are as deeply embedded - or as persistently wrong - as the idea that searing seals in moisture. It appears in decades of cookbooks, cooking shows, and well-meaning kitchen advice passed down through families. The problem isn't that home cooks are careless; it's that the myth sounds plausible and the results of searing are genuinely good, which makes it easy to attribute those results to the wrong cause.
Understanding why searing works - and what it actually does - changes how you approach it practically. You stop treating it as protective and start treating it as what it is: a flavor-building step that rewards dry surfaces, adequate heat, and patience. Correcting the mental model leads directly to better technique.
The 'Seal in Juices' Claim Is False
The idea that searing creates a moisture-proof crust has been tested and disproven repeatedly. A seared piece of meat loses water just as readily as an unseared one at the same internal temperature. The reason to sear is flavor development - not moisture preservation. Building your technique around the wrong goal leads to wrong decisions.
The Science Behind the Sear
The Maillard reaction - named for French chemist Louis-Camille Maillard, who described it in the early 20th century - is what gives seared meat its distinctive crust and depth of flavor. It occurs when surface temperatures exceed roughly 280°F (138°C), triggering a cascade of chemical reactions between proteins and sugars. The hundreds of compounds produced are responsible for the complex, roasted character that defines a well-seared steak or chop.
None of this has anything to do with moisture retention. Your kitchen thermometer is a more reliable guide to doneness and moisture than the presence or absence of a crust - internal temperature determines how much liquid the muscle fibers release, full stop.
Myth
Searing meat seals in the juices, keeping it moist throughout cooking.
Fact
Searing does not form any kind of moisture barrier. Meat loses liquid based on internal temperature, not surface treatment.
This belief dates to 19th-century food writing and has persisted through generations of cookbooks despite being scientifically inaccurate. Food scientists have confirmed through controlled tests that seared and unseared cuts cooked to the same internal temperature lose comparable amounts of moisture. The crust formed by searing is porous - water vapor passes through it freely. The correct reason to sear is to trigger the Maillard reaction: a chemical process between amino acids and sugars that produces hundreds of flavor and aroma compounds responsible for that deeply savory, browned crust.
Myth
You should sear meat first, then finish it in the oven - always in that order.
Fact
Reversing the order - finishing first in low heat, then searing at the end - often produces superior results.
The so-called reverse sear brings meat up to temperature slowly in a low oven, then finishes with a high-heat sear. Because the exterior is already dry and the meat is near its target temperature, the final sear is faster and more even. The result is a thinner, more consistent band of properly cooked meat beneath the crust - and that crust itself can be more deeply browned. This is especially effective for thick-cut steaks and roasts. Sous vide cooking uses a similar logic: precise low-temperature cooking followed by a high-heat finish.
Myth
The hotter the pan, the better the sear - crank it as high as it will go.
Fact
Extremely high heat can burn the exterior before the crust develops properly; the right temperature depends on pan material and cut thickness.
Effective searing requires high heat, but "as high as possible" isn't a reliable rule. Pan material matters significantly - a thin stainless pan at maximum heat can develop hot spots that scorch unevenly, while a well-preheated cast iron holds heat more consistently. Heat retention is a key variable: a pan that loses temperature rapidly when cold meat is added will stall browning and steam instead of sear. Preheat thoroughly, use a fat with an appropriate smoke point, and let the meat tell you when it's ready - it will release naturally when a proper crust has formed.
Myth
You should keep moving the meat around the pan for an even sear.
Fact
Leaving the meat undisturbed allows the Maillard reaction to complete and the crust to set before flipping.
Constant movement interrupts contact between the meat's surface and the hot pan, slowing or preventing crust formation. The correct approach is to place the meat in a hot pan and leave it alone. It will initially stick, then release on its own when the crust has developed sufficiently - this is a reliable indicator that it's time to flip. Moving it prematurely tears the forming crust and forces the process to restart. A single confident flip is all most cuts need.
Myth
You can sear as many pieces of meat as fit in the pan at once.
Fact
Overcrowding drops pan temperature and causes meat to steam rather than brown.
Each piece of cold meat placed in a hot pan absorbs energy from it. Pack too many pieces in and the pan temperature drops sharply - at that point, moisture released from the meat cannot evaporate fast enough, and the environment around each piece becomes humid. Browning requires a dry, high-heat surface. Work in batches, giving each piece adequate space, and allow the pan to return to temperature between rounds. This is one of the most overlooked variables in home kitchens. Dry heat cooking methods depend entirely on keeping moisture out of the equation.
Myth
Once you've seared the meat, you're done - it doesn't need to rest.
Fact
Resting after searing (and finishing) allows muscle fibers to relax and redistribute moisture throughout the cut.
Heat drives moisture toward the center of the meat during cooking. Cutting immediately after searing sends that moisture onto the cutting board rather than into each bite. Resting meat allows fiber tension to ease and liquid to redistribute - a step that meaningfully affects the texture and juiciness of the final result. The sear is the beginning of a process, not the end of it.
Putting Correct Technique Into Practice
Armed with the right framework, searing becomes more predictable and less frustrating. Pat your meat dry before it touches the pan. Preheat thoroughly. Work in batches. Let the crust set before you move the meat. Consider the reverse-sear method for thick cuts. And always rest the meat before slicing.
Salting also deserves attention - applied early enough, it draws moisture to the surface, which then dissolves back in. Timing your salt application can make a meaningful difference in both the crust and overall flavor. Small adjustments grounded in accurate understanding consistently outperform confident technique built on faulty assumptions.
A Wet Surface Will Ruin Your Sear
Surface moisture must evaporate before browning can begin - and that evaporation steals heat from the pan. Pat meat thoroughly dry with paper towels before it ever touches the pan. Even a light sheen of surface moisture will stall the Maillard reaction and leave you with a gray, steamed exterior instead of a proper crust. This is the single most common technique error home cooks make.
The content on this site is provided for informational purposes only and should not be considered a substitute for professional advice. While we strive to provide accurate and up-to-date information, we make no guarantees regarding its completeness or accuracy. Always consult a qualified professional for advice specific to your circumstances before making any decisions.