

What Composting Actually Does - and Why It Matters
Composting is the managed decomposition of organic matter by bacteria, fungi, and other microorganisms. The end product - mature compost - is a stable, humus-rich material that improves soil structure, supports beneficial microbial life, and supplies slow-release nutrients to plants. It is not a fertilizer in the conventional sense, but rather a soil conditioner that makes nutrients more accessible over time. Understanding this distinction is useful: compost builds long-term soil health rather than delivering a quick nutrient spike.
Home composting also diverts organic waste from landfills, where it would decompose anaerobically and produce methane. Even a modest household heap can process a meaningful share of kitchen and garden scraps across a season. If you are planning a productive growing space, compost is one of the most reliable inputs you can make yourself - something explored further in our guide to starting a vegetable garden from scratch.
Coffee Grounds Are a Garden Favorite
Used coffee grounds are a reliable nitrogen source and are accepted by most municipal composting programs if you prefer not to home-compost them. In a home heap, add them with an equal volume of browns to prevent matting. Paper coffee filters can go in too - they are a carbon source.
What to Add - and What to Keep Out
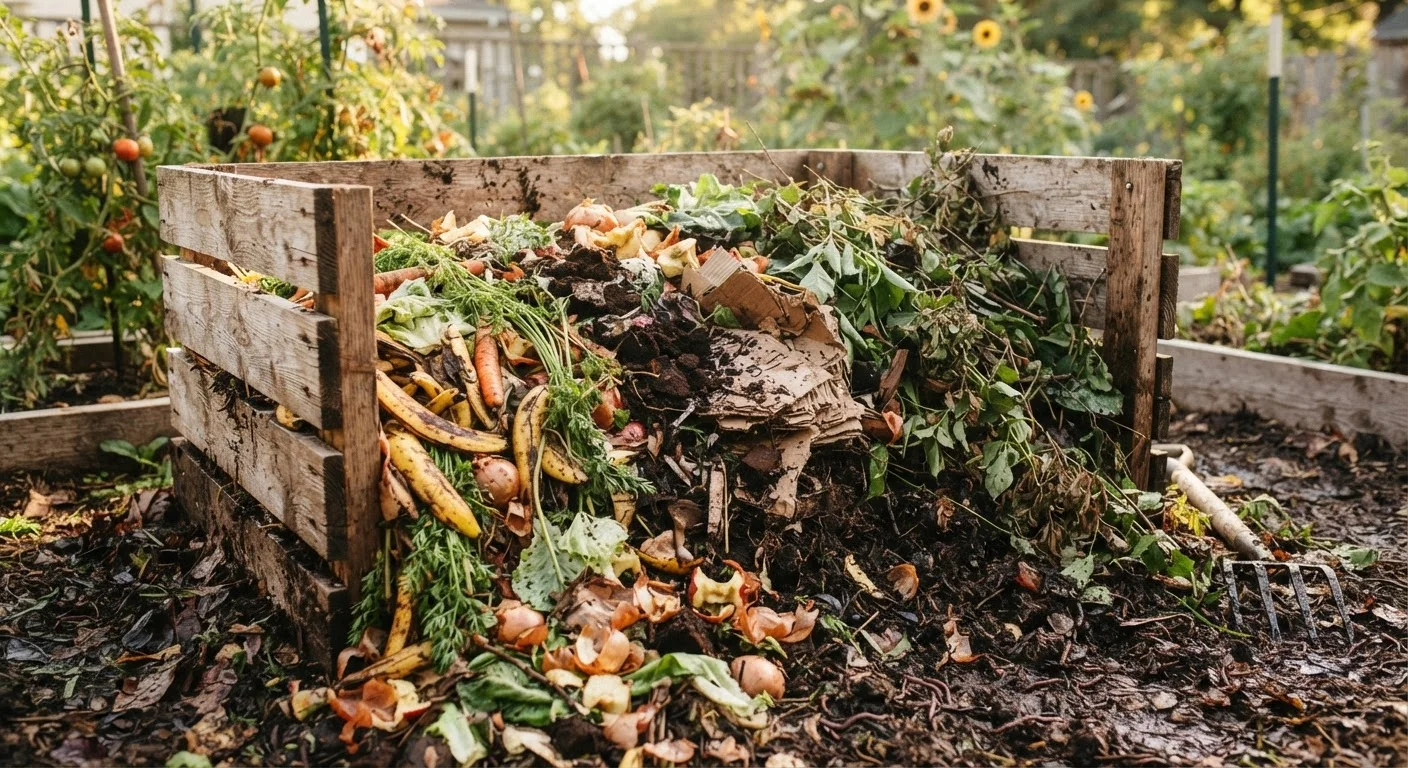
Composting materials fall into two broad categories. Browns are carbon-rich: dry leaves, cardboard torn into small pieces, wood chips, straw, paper bags, and paper towels. Greens are nitrogen-rich: fruit and vegetable scraps, coffee grounds, fresh grass clippings, plant trimmings, and eggshells. A rough ratio of three parts browns to one part greens by volume gives decomposers the carbon-to-nitrogen balance they need to work efficiently.
Several materials should be excluded from a standard home heap. Meat, fish, and bones attract pests and create odor problems. Dairy products and oily foods decompose poorly and can also draw rodents. Diseased or pest-infested plant material risks spreading pathogens into finished compost. Pet waste introduces harmful bacteria. Treated wood products and glossy printed paper may contain chemicals you do not want cycling into garden soil. When in doubt, leave it out.
Citrus and Onion: Use in Moderation
Citrus peels and onion skins are compostable, but large quantities can slow decomposition and may discourage earthworms. Add them in moderate amounts, chopped into smaller pieces, and balanced with plenty of browns. Avoid adding them in dense layers.
Setting Up and Managing Your Compost System
Choose a location that is convenient to reach from the kitchen and garden, receives some sun (which aids warming), and has reasonable drainage. A shaded spot in a hot climate can actually help retain moisture. The simplest structure is an open bin made from wood pallets or wire mesh, roughly 3 feet square - large enough to retain heat but small enough to turn. Tumblers and enclosed plastic bins are better suited to smaller yards or urban settings where pest exposure is a concern.
Select and Prepare Your Bin or Heap Area
Choose a spot at least 3 feet from structures and property boundaries. Clear the ground of grass or weeds and, if using an open heap, lay down a thin layer of coarse material like wood chips or straw to encourage drainage and airflow from below. Assemble or position your bin so the front or top is accessible for adding material and turning.
Build Your Base Layer
Start with a 4-6 inch layer of coarse browns such as wood chips, small branches, or dried leaves. This base layer creates air pockets beneath the active material and prevents the bottom from becoming compacted and anaerobic. Follow this with a thinner layer of greens - fresh clippings or kitchen scraps - then cover with another layer of browns.
Add Materials in Alternating Layers
Continue adding browns and greens in alternating layers as materials become available. Each time you add kitchen scraps, bury them in the center of the pile and cover with a layer of browns. This reduces odor and deters fruit flies and other pests. Chop or tear large items - cardboard sheets, leafy stems - into smaller pieces before adding.
Monitor and Adjust Moisture
Squeeze a handful of material from the center of the pile. It should hold together and release just a few drops of moisture - similar to a wrung-out sponge. If it feels dry and dusty, add water gradually while turning. If it feels soggy or smells sour or like ammonia, add more browns and turn to introduce air.
Turn the Pile Regularly
Use a garden fork or compost aerator to turn the entire pile, moving material from the outer edges into the center where temperatures are highest. Do this every one to two weeks for active composting. The center of an active pile can reach 130-160°F, which helps kill weed seeds and pathogens. After turning, the temperature will typically rise again within a day or two.
Harvest and Apply Finished Compost
When the bottom layers of the pile are dark, crumbly, and soil-scented, harvest by scooping finished material from the bottom or sides. Screen through a half-inch mesh to separate any partially decomposed chunks - return those chunks to the active pile. Apply finished compost to garden beds, containers, or lawn areas at a rate of 1-3 inches worked into the top layer of soil.
Once your heap is established, maintenance is mostly a matter of checking three variables: moisture, air, and particle size. The pile should feel like a wrung-out sponge - damp but not dripping. Turning the pile every one to two weeks introduces oxygen and redistributes heat, accelerating breakdown. Chopping or shredding materials before adding them dramatically increases the surface area available to microbes and can cut finishing time significantly. For more ways to integrate composting into a year-round outdoor routine, see our guide to preparing your garden for every season.
Knowing When Compost Is Ready to Use
Finished compost is dark brown to black, crumbles easily, and smells like forest soil - not like rotting food. You should not be able to identify the original materials. Depending on management intensity, a pile may mature in as little as six weeks with active turning or take six to twelve months in a passively managed heap. If you can still see recognizable scraps, give it more time or move partially finished material to a secondary pile while starting fresh additions in the first bin.
Apply finished compost by working it into the top few inches of garden soil, using it as a top-dressing around established plants, or blending it into potting mixes. Pairing compost with organic mulches extends moisture retention and further feeds soil biology - our guide to garden mulch types covers the trade-offs between materials. Composting is one of the more evidence-backed practices in organic gardening, though how it performs can depend heavily on the materials used and local soil conditions - worth keeping in mind if you encounter bold claims about results. Our article on organic gardening myths offers useful perspective on separating fact from folklore.
The content on this site is provided for informational purposes only and should not be considered a substitute for professional advice. While we strive to provide accurate and up-to-date information, we make no guarantees regarding its completeness or accuracy. Always consult a qualified professional for advice specific to your circumstances before making any decisions.