

Why Retrofitting a Reversing Camera Is Worth Understanding
A reversing camera is one of the few aftermarket additions that delivers a clear, practical safety benefit rather than just a convenience feature. Vehicles produced before the mid-2010s were rarely fitted with them as standard, leaving a large portion of the US vehicle fleet without rearward camera coverage. If you are considering this addition, it helps to understand what the process genuinely involves - not just whether it can be done, but how long it takes, what skills are needed, and where the complications tend to arise.
For context on how reversing cameras compare to other safety-focused add-ons, see our overview of dash cams, blind-spot mirrors, and parking sensors. And if you are weighing whether this upgrade is genuinely worthwhile versus other options, our article on what counts as a car upgrade vs. a gimmick provides useful framing.
The core components you will need are the camera itself, a video cable, and a display. On an older vehicle without a factory infotainment screen, the display is often the most significant additional purchase - options range from aftermarket rearview mirror monitors to full head-unit replacements.
What you will need
Multimeter
Used to identify and verify the reverse light circuit before connecting the camera's power wire.
Trim removal tools (plastic pry tools)
Allow safe removal of interior door, pillar, and tailgate trim panels without cracking or scratching them.
Cable fishing rod or wire snake
Helps thread the video cable through tight cavities inside door pillars and under carpets.
Electrical tape and heat-shrink connectors
Provide secure, weatherproof insulation for any spliced wiring connections.
Drill with step bit
Required if the camera mount needs a hole drilled through the number plate surround or bodywork.
Aftermarket monitor or compatible head unit
Displays the camera feed; required on older vehicles that have no factory screen.
Rubber grommet
Protects the video cable where it passes through a hole in the bodywork or tailgate, preventing chafing.
Step-by-Step Installation Process
The steps below reflect a typical wired installation on an older hatchback, estate, or saloon. Wired systems are generally preferred over wireless alternatives for reversing cameras because they provide a more stable, interference-free image - an important consideration when manoeuvring in tight spaces. If you are weighing wired versus wireless approaches more broadly, the trade-offs are worth understanding before you purchase a kit; our related article on wired vs. wireless camera trade-offs covers the key considerations, though it focuses on home security contexts, the underlying principles of signal reliability apply similarly here.
Know Your Limits Before Starting
Incorrectly wiring a reversing camera can blow fuses, damage your vehicle's electrical system, or create a persistent drain on your battery. If you are not confident identifying circuits with a multimeter or working behind dashboard trim, have the installation carried out by a qualified auto electrician or car audio specialist. The cost of professional fitting is generally modest compared to the cost of diagnosing electrical faults afterward.
Choose your camera mount location
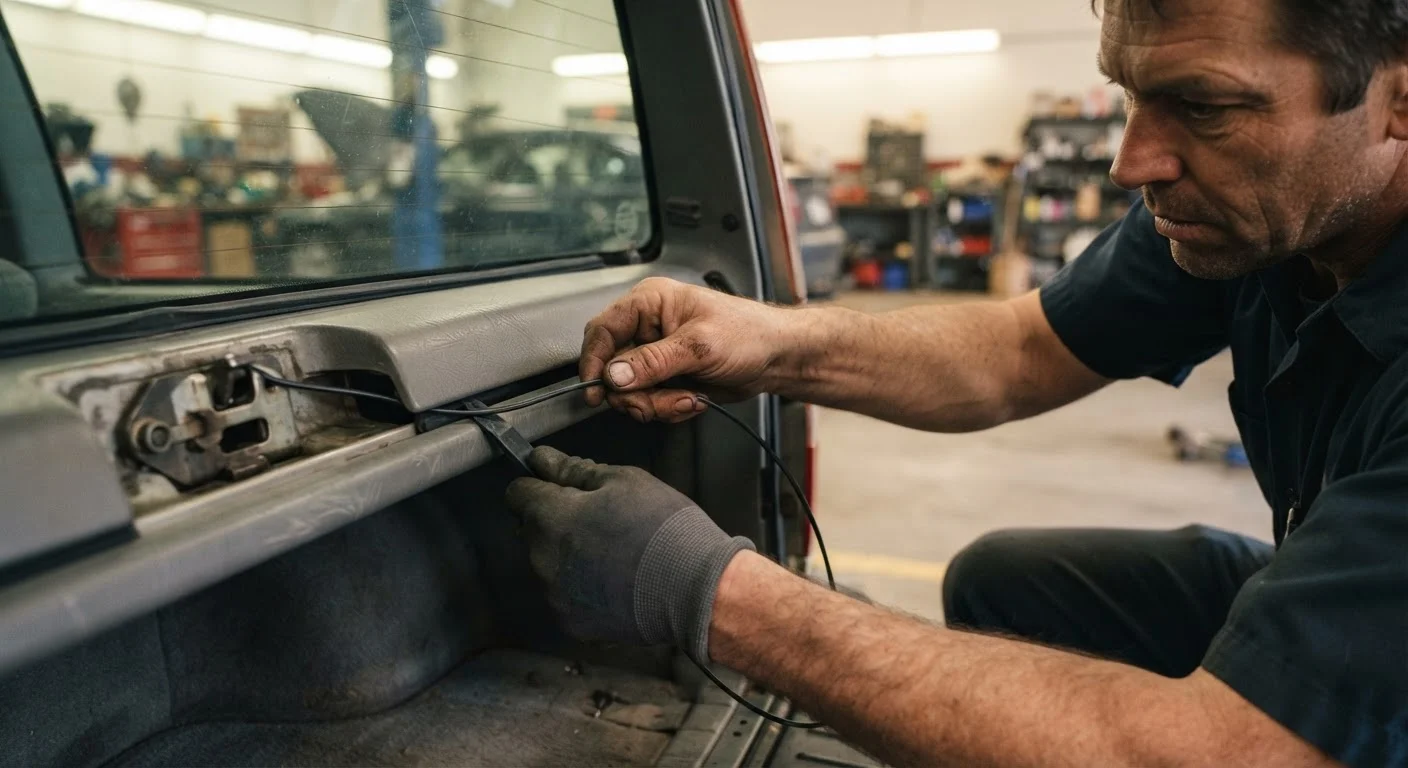
Most aftermarket reversing cameras are designed to mount near the number plate - either above it, integrated into the number plate light housing, or on the handle of the tailgate or boot lid. Consider which position gives the widest unobstructed view and suits your vehicle's bodywork. On hatchbacks and estate cars, the tailgate is typically the most practical location. On pickups or older saloons, a number plate surround mount is usually preferred.
Mount the camera and seal any penetrations
If your chosen mount requires drilling, use a step bit to create a clean hole sized to your camera's body or cable. Feed the camera's pigtail cable through and fit a rubber grommet around the cable where it enters the bodywork to prevent water ingress and chafing. Secure the camera firmly; a poorly fixed camera will vibrate and produce a blurred image. Apply a small bead of weatherproof sealant around the mount perimeter if required by your kit's instructions.
Route the video cable to the cabin
This is typically the most time-consuming part of the job. The video cable must travel from the camera, through the tailgate or boot area, along the vehicle's interior - usually beneath carpets and behind side trim panels - and forward to where the monitor or head unit is located. Use plastic trim tools to carefully remove kick panels, C-pillar, and B-pillar trim as needed. A cable fishing rod is invaluable for threading the cable through cavities in door pillars. Keep the cable away from sharp edges and avoid routing it near the exhaust or moving components beneath the vehicle.
Connect the camera power to the reverse light circuit
Locate the reverse light wiring at the rear of the vehicle - typically accessible near the taillight cluster. Use a multimeter set to DC voltage to confirm which wire carries 12V only when the vehicle is in reverse. Splice the camera's power wire (usually red) to the positive reverse light wire and the ground wire (usually black) to a reliable chassis earth point nearby. Use heat-shrink connectors or properly insulated butt connectors; avoid unreliable scotch-lock connectors on powered circuits.
Connect the video cable to your display
At the front of the vehicle, connect the video cable's RCA or proprietary connector to the camera input on your monitor or aftermarket head unit. If you are using a dedicated rearview mirror monitor, this typically mounts over your existing mirror with a strap fitting. Route any excess cable neatly behind the headliner or dashboard trim. Secure the monitor in a position that provides a clear, unobstructed view while not blocking your forward sightlines.
Test the system and refit all trim
Before refitting any panels, start the vehicle and select reverse. Confirm the camera image appears on the monitor, that it is oriented correctly (mirror image is standard), and that the image is clear and stable. Adjust the camera angle if needed - most units allow a degree of vertical adjustment. Once satisfied, refit all trim panels, tuck cables securely, and test again. Take a few slow reversing manoeuvres in a clear area to familiarise yourself with the camera's field of view and any blind spots it does not cover.
[tip_callout]Realistic Expectations After Installation
A properly installed reversing camera will show you what is directly behind your vehicle when you engage reverse - but it does not replace mirrors or eliminate blind spots entirely. Camera field of view varies by unit, and most standard cameras do not show areas immediately adjacent to the rear corners of the vehicle. Use the camera as a supplement to your mirrors and physical checks, not a replacement for them.
Image quality at night depends significantly on whether the camera has infrared capability or benefits from a well-lit rear environment. Budget kits may struggle in low-light conditions; this is worth considering when selecting a unit.
If your installation required a new head unit, you may find that fitting also opens up other useful additions. Our guide on what to know before fitting a dash cam is worth reading if you are also considering forward-facing camera coverage. For a broader look at sensible vehicle upgrades overall, see our complete guide to upgrading your vehicle sensibly.
Do Not Tap Into the Wrong Circuit
Always confirm the reverse light wire polarity with a multimeter before connecting anything. On some older vehicles, wiring colours are inconsistent with common conventions. Connecting camera power to the wrong wire can cause the camera to run continuously, draining your battery, or may damage the camera unit itself.
The content on this site is provided for informational purposes only and should not be considered a substitute for professional advice. While we strive to provide accurate and up-to-date information, we make no guarantees regarding its completeness or accuracy. Always consult a qualified professional for advice specific to your circumstances before making any decisions.