

Start With Scope: What Are You Actually Changing?
The first decision in any bathroom renovation is defining what you are and are not touching. Scope falls into three broad tiers that carry very different cost, timeline, and permitting implications.
Cosmetic refresh - replacing fixtures, hardware, lighting, mirrors, and paint without moving anything structural or reconfiguring plumbing. This is the most accessible tier and often does not require permits.
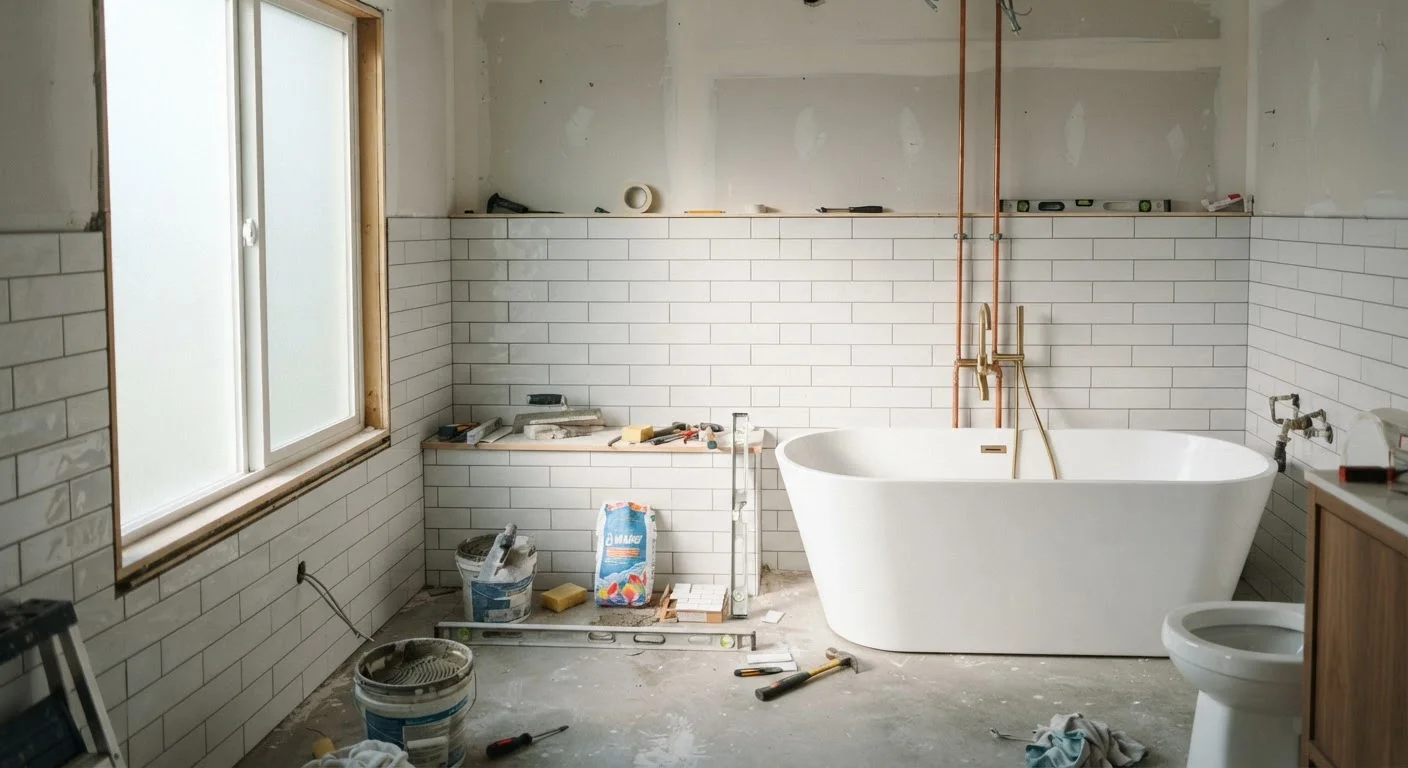
Full gut renovation - demolishing down to studs and subfloor, replacing all plumbing, electrical, waterproofing, and finishes. This is a major project requiring multiple licensed trades and almost always requires permits.
Layout reconfiguration - moving the toilet, tub, or shower to a new location. This adds significant cost because drain lines must be rerouted, sometimes requiring opening the subfloor or ceiling below.
Before going further, read through our pre-project planning checklist - it covers budget buffers, contractor vetting, and permit groundwork that applies to every tier of bathroom work. Locking in your scope early also allows you to get apples-to-apples contractor bids rather than comparing quotes that assume different amounts of work.
Layout Decisions and Wet Area Requirements
Bathroom layout is constrained by physics as much as preference. Toilets require a drain with a specific fall (slope) to function; showers need floor drains positioned precisely relative to the pan or liner; tubs are heavy when filled and need adequate floor support. Moving any of these elements is possible, but each move carries a cost multiplier.
A practical rule: keep the toilet on the same drain stack and keep wet fixtures on the same wall as existing supply lines whenever the layout allows. Deviating from this is sometimes the right call for functionality, but go in with clear eyes about the added expense.
Wet areas - any surface that regularly contacts water, including shower walls, tub surrounds, and shower floors - require a continuous waterproofing membrane beneath the tile. This is not optional. Membrane types include sheet membranes, liquid-applied membranes, and foam board systems. Each must be installed correctly and, in many jurisdictions, inspected before tile is set. Skipping or skimping on this step is one of the most common causes of catastrophic bathroom water damage discovered years later.
Waterproofing Must Be Inspected Before Tiling
In jurisdictions where a permit is pulled for your renovation, a waterproofing inspection of the shower or tub wet area is typically required before any tile is set. Even where not legally required, having your contractor document the completed membrane - with photos timestamped and labeled - gives you a record of what was done and how. Never allow tile work to proceed over an uninspected or unverified membrane.
Shower floor drains must be positioned so the floor slopes toward them at a minimum gradient - typically ¼ inch per foot - to prevent standing water. This slope must be built into the mud bed or pre-sloped pan before any membrane or tile goes down. Verify this with your tile setter or contractor before the shower floor is poured.
Permits, Codes, and Licensed Trades
In most US jurisdictions, bathroom renovations that involve moving or adding plumbing, modifying electrical circuits, or altering ventilation require permits and licensed contractors. Requirements vary by state and municipality, so verify what applies to your specific address with your local building department before any work begins.
Why does this matter practically? Unpermitted work can complicate homeowner's insurance claims, create problems at resale, and leave you with no recourse if a trade does poor work without inspection. Permits exist to protect you.
Typically required for licensed trades in a bathroom renovation:
- Plumbing - supply lines, drain lines, vent stacks, fixture connections
- Electrical - GFCI outlets (required within a specified distance of water sources under the NEC), exhaust fan wiring, lighting circuits
- Structural - if you are removing or altering walls, especially load-bearing ones
Exhaust ventilation is also code-required in bathrooms without operable windows in most jurisdictions. If yours is undersized or missing, factor in an upgrade. For guidance on air-sealing and insulation adjacent to wet areas, our homeowner's insulation introduction covers what professionals look for during renovations.
Before finalizing your tile layout, dry-lay a full row on the actual floor to check how cuts will fall at walls and obstacles. Awkward slivers at doorways or the toilet base are far easier to adjust on paper than after adhesive is down.
Tile cut placement significantly affects the finished appearance and the tile setter's labor time. Planning this in advance prevents the visual and functional problems that come from improvised layouts.
Specify 'comfort height' (also called ADA height) toilets - typically 17-19 inches to the seat - when replacing the toilet. Most adults find them markedly more comfortable, and they add accessibility value to the home.
Standard toilet height is 15 inches to the seat, which many adults find uncomfortable. Comfort-height models are widely available at similar price points and require no additional plumbing changes.
Install a dedicated 20-amp circuit for the bathroom even if your current setup has a 15-amp one - modern hair dryers and space heaters regularly draw close to 20 amps, and the upgrade costs very little when the walls are already open.
Electrical capacity is most economically upgraded during rough-in when walls are open and no additional demolition is required. Doing it after the fact means reopening finished walls.
Sequencing the Work Correctly
Trade sequencing is the most misunderstood part of bathroom renovation management. Doing work out of order almost always means paying someone to undo and redo their own work. The standard sequence for a full gut renovation runs as follows:
- Demolition - remove existing fixtures, tile, drywall, and flooring down to the required substrate
- Rough plumbing - relocate or stub out drain and supply lines before walls close
- Rough electrical - run new circuits, position outlet and switch boxes, fan ductwork
- Inspection - rough-in inspection must pass before walls are closed (required when permitted)
- Backer board and waterproofing - cement board or equivalent substrate installed; membrane applied to wet areas
- Tile setting - floor tile first, then wall tile in wet areas
- Finish plumbing - fixtures set, supply connections made after tile is complete
- Finish electrical - outlets, switches, fan, and fixtures installed after paint
- Paint and trim - walls painted, door and baseboard trim installed last
Delays at any inspection point ripple forward. Our companion piece on keeping a renovation on schedule details communication strategies that help prevent these gaps from expanding into weeks of downtime.
Finishes, Fixtures, and Procurement Timing
Material procurement is a project management task as much as a design one. Tile, vanities, tubs, and specialty fixtures frequently have lead times ranging from two to eight weeks or longer for special orders. If you begin demolition before materials are on-site, you may pay your contractor to pause - or worse, lose their availability entirely to another job.
A practical procurement timeline: finalize all selections and place orders before demolition begins. Confirm delivery windows against your project schedule. For tile especially, order 10-15% more than your measured square footage to account for cuts, breakage, and future repairs.
When evaluating finish choices, consider maintenance realities as well as aesthetics. Highly textured floor tiles trap grime; large-format tiles reduce grout lines but require a very flat substrate; matte finishes on wall tile can be harder to wipe clean than satin or gloss. For paint choices on non-tiled walls and ceilings, our interior paint finishes reference explains why semi-gloss and satin outperform matte in high-humidity spaces like bathrooms.
15-20%
Recommended contingency budget for bathroom renovations
Industry guidance consistently recommends a 15-20% contingency on top of the base estimate to cover hidden conditions and scope changes.
~70%
Average cost recouped at resale for a midrange bath remodel
Remodeling Magazine's Cost vs. Value reports have historically shown midrange bathroom remodels recouping approximately 60-70% of costs at resale, though figures vary by market and year.
2-8 weeks
Typical lead time for specialty tile and fixtures
Special-order tile, custom vanities, and imported fixtures commonly carry lead times in this range, making early procurement essential for avoiding schedule delays.
Managing the Project Day to Day
Even with an experienced general contractor, homeowner engagement during a bathroom renovation reduces errors and keeps the project moving. Set a weekly check-in cadence, document decisions in writing (email is fine), and photograph work at each stage - especially rough-in plumbing, electrical, and waterproofing before they are covered up.
When a problem surfaces - and in most gut renovations, at least one will - address it immediately rather than hoping it resolves itself. Common hidden conditions include: rotted subfloor from a slow leak, undersized drain venting that requires rerouting, and asbestos-containing materials in older homes (pre-1980 construction) that require professional abatement before demolition continues.
Maintain a running change-order log. Any deviation from the original scope should be agreed upon in writing with a cost and timeline impact noted before work proceeds. Verbal agreements on scope changes are one of the most common sources of billing disputes at project close.
Once the renovation is complete, the organizational layer becomes important. Our room-by-room organisation reference covers practical storage strategies for bathrooms and other high-use spaces - a useful next step after the construction dust settles.
This article provides general educational information about bathroom renovation planning. It is not a substitute for advice from licensed contractors, local building officials, or other qualified professionals. Always verify permit requirements and code compliance with your local jurisdiction before beginning any renovation work.
The content on this site is provided for informational purposes only and should not be considered a substitute for professional advice. While we strive to provide accurate and up-to-date information, we make no guarantees regarding its completeness or accuracy. Always consult a qualified professional for advice specific to your circumstances before making any decisions.