

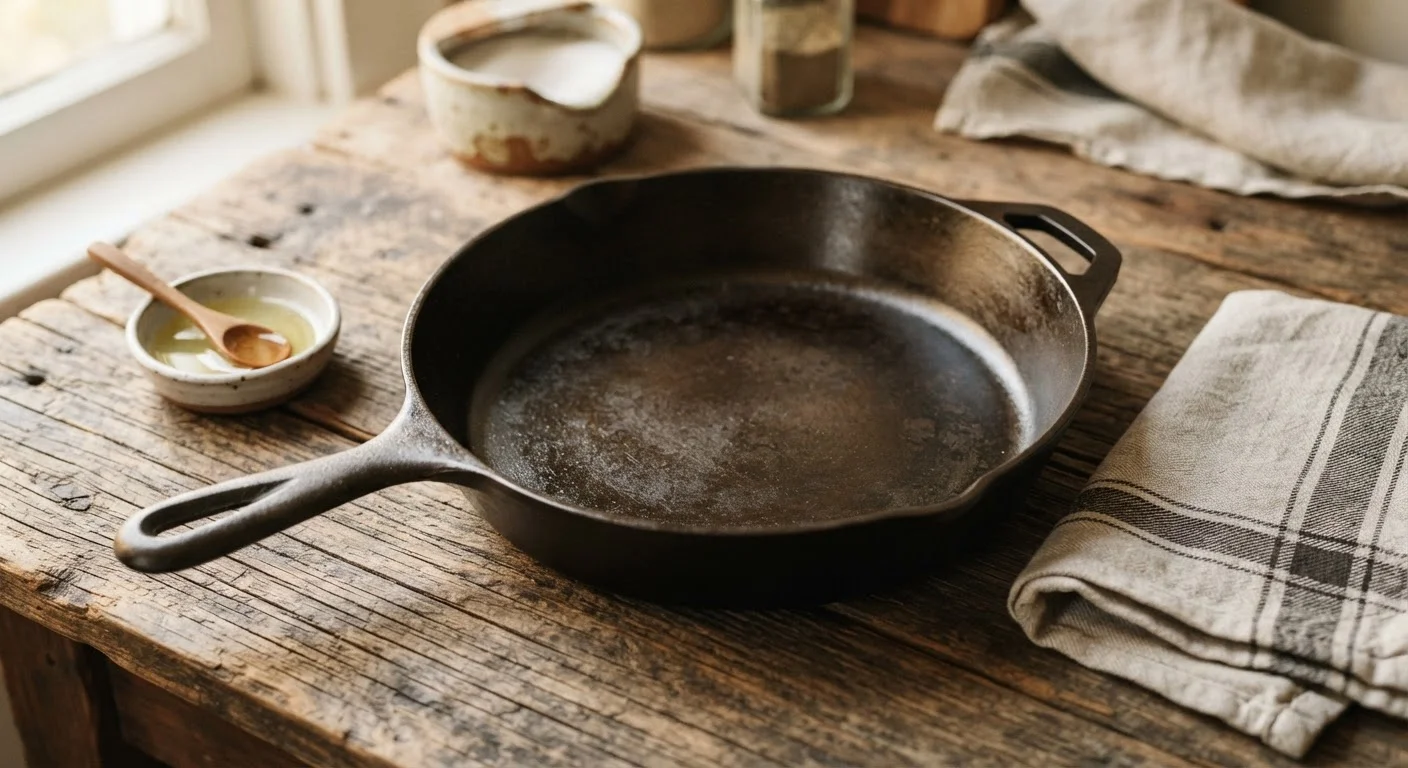
What Seasoning Actually Does
Seasoning is not a spice - it's a thin layer of polymerized oil baked onto the surface of the iron. When oil is heated past its smoke point in a thin enough coat, it undergoes a chemical change and bonds to the metal, forming a hard, slick surface that repels moisture and resists sticking. Each time you cook with fat and apply heat, that layer thickens slightly.
Cast iron's reputation as a near-permanent kitchen tool comes directly from this process. A well-maintained pan can genuinely last generations. But that durability depends on building and preserving the seasoning correctly from the start. Understanding how heat retention works in cast iron also helps you get more out of the pan once it's ready to use.
First Cooks Matter for Seasoning
For your first few uses, cook foods with a higher fat content - bacon, fried eggs with butter, or sautéed onions in oil. These help build up and reinforce the seasoning layer in a way that leaner foods don't. Think of them as conditioning cooks rather than just meals.
For a deeper look at what supports - and what strips - cast iron seasoning over time, see our guide on what actually works and what damages cast iron.
What You'll Need
The materials required are minimal, which is part of what makes cast iron appealing. You need an oven, a high-smoke-point oil, and clean cloths. That's the core of it.
Oven
Used to bake the oil into the pan surface at a consistent high temperature, creating a polymerized seasoning layer.
Neutral high-smoke-point oil
The base material of the seasoning - grapeseed, flaxseed, or vegetable shortening work well at oven temperatures.
Lint-free cloths or paper towels
Used to apply and wipe away excess oil so only a thin, even coat remains on the pan surface.
Stiff-bristle brush or chainmail scrubber
Helps remove rust or factory residue during the initial cleaning without scratching the iron.
Oven mitts or heat-resistant gloves
Protects hands when handling a very hot pan during and after the seasoning process.
Aluminum foil
Placed on the lower oven rack to catch any oil drips during baking without damaging the oven floor.
What you will need
Step-by-Step: The Seasoning Process
Follow these steps in order, without shortcuts on the drying or thinness-of-oil stages - those two points are where most first attempts go wrong.
Wash the pan thoroughly
New cast iron often arrives with a factory coating or light rust from storage. Scrub the entire pan - inside, outside, and handle - with warm water and a small amount of dish soap. Use a stiff brush or chainmail scrubber to remove any surface rust or debris. Rinse completely.
Dry the pan completely
Water left on cast iron causes rust almost immediately. After rinsing, dry the pan with a clean cloth, then place it on the stovetop over low heat for two to three minutes. This drives out any moisture hiding in the pores of the iron before you apply oil.
Apply a very thin layer of oil
While the pan is still warm, use a lint-free cloth or folded paper towel to rub a thin layer of oil over every surface - the cooking surface, the exterior walls, the bottom, and the handle. Then take a clean, dry cloth and wipe the pan down again. The goal is an almost-invisible coat of oil. If the pan looks greasy or wet, you've applied too much.
Bake the pan upside down in the oven
Preheat your oven to between 450°F and 500°F (232-260°C). Place the pan upside down on the center rack - this prevents oil from pooling on the cooking surface. Put a sheet of aluminum foil or a baking sheet on the rack below to catch any drips. Bake for one full hour.
Let the pan cool in the oven
Turn off the oven and leave the pan inside to cool gradually. Do not move a scorching-hot cast iron pan to a cold surface - the thermal shock, while unlikely to crack the pan outright, can stress the metal. Letting it cool inside the oven also allows the polymerized layer to set fully.
Test the surface and cook with confidence
Once cooled, the pan should have a slightly darker, matte sheen compared to before. It's now ready to use. The seasoning will improve noticeably after a few rounds of cooking - especially fatty foods like bacon, sautéed vegetables in oil, or cornbread. Consistent use is one of the best ways to build up the surface over time.
Ongoing Care After the First Seasoning
After the initial seasoning, day-to-day care is straightforward. Rinse the pan while it's still warm, dry it immediately and thoroughly, and apply a very light wipe of oil before storing. Occasional light soap use for cleaning is fine - the idea that soap will always destroy seasoning is an oversimplification. What damages seasoning is prolonged soaking, harsh abrasives, or the dishwasher.
Avoid cooking highly acidic foods like tomato sauce or citrus-heavy dishes in a newly seasoned pan - the acid can erode a young seasoning layer. After several months of regular use, the surface will be robust enough to handle it. When you're ready to try more ambitious techniques, building a pan sauce in a seasoned cast iron is one of the most rewarding applications of the pan's heat properties.
Watch for Signs of Stripped Seasoning
If your pan develops gray or metallic patches, food begins sticking consistently in spots that were previously fine, or you notice a metallic taste in food, the seasoning may have been compromised. Strip the pan back to bare metal with a thorough scrub and re-season from scratch - it's not a failure, it's just routine maintenance that any cast iron owner will encounter at some point.
The content on this site is provided for informational purposes only and should not be considered a substitute for professional advice. While we strive to provide accurate and up-to-date information, we make no guarantees regarding its completeness or accuracy. Always consult a qualified professional for advice specific to your circumstances before making any decisions.