

Summary
18 items · 30-60 minutes
Why a Checklist Before the Drill Matters
Mounting a TV feels like a weekend DIY win - until you hit a hollow wall cavity, realise the power outlet is three feet away, or discover the viewing angle puts neck strain on everyone in the room. These are not rare edge cases; they are among the most common complaints from homeowners who skipped the preparation phase.
This checklist walks you through every factor worth verifying before a single hole is drilled. Think of it the same way a professional chef approaches mise en place: getting everything confirmed and in order before you begin is what separates a clean result from a frustrating redo.
If your installation is part of a larger home update, the broader guidance in home renovation planning applies here too - sequencing decisions and permit awareness matter even for a single wall mount.
Concrete, Brick, and Metal Studs Change Everything
Masonry walls and metal stud framing require specialized anchors, drill bits, and - in some cases - professional installation. Standard wood-stud techniques applied to the wrong wall type can result in a mount that appears secure but fails under load. If your wall assessment reveals any of these conditions, consult a licensed contractor before proceeding.
What You'll Need
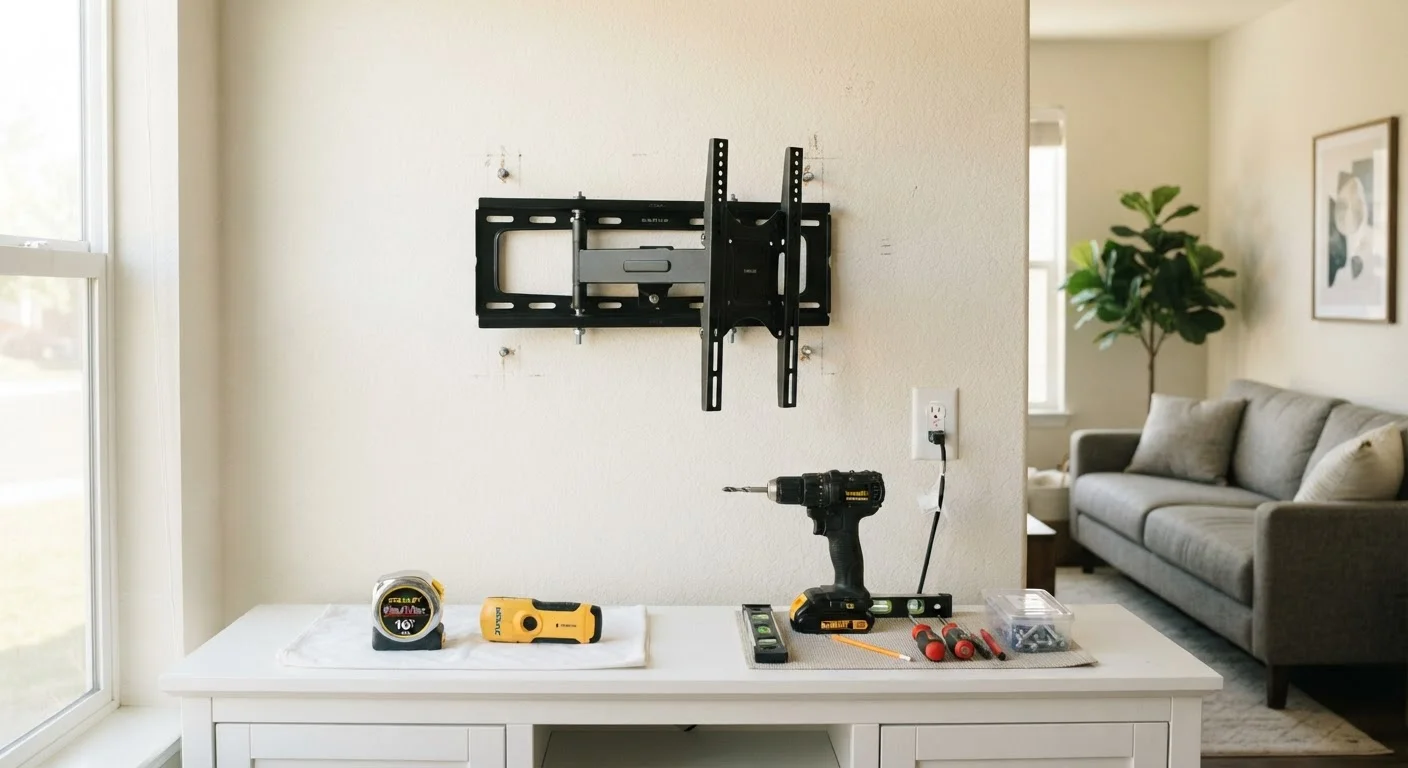
Gather these tools before you start working through the checklist. Having everything on hand avoids mid-project trips to the hardware store.
Stud finder
Locates wooden or metal studs and detects electrical wiring or pipes hidden behind drywall.
Drill with bits
Creates pilot holes and drives lag bolts or anchors into the wall and studs.
Torpedo or bubble level
Ensures the mount bracket is perfectly horizontal before any bolts are fully tightened.
Measuring tape
Confirms stud spacing, VESA measurements, and viewing height from the floor.
Pencil or painter's tape
Marks stud locations, bracket positions, and drill points on the wall without permanent marks.
Voltage tester or AC-detection stud finder
Confirms the absence of live electrical wiring before drilling into any wall cavity.
Cardboard or large paper sheet
Simulates the TV footprint on the wall so you can visualize placement before committing.
In-wall cable management kit
Routes HDMI and low-voltage cables cleanly inside the wall for a cord-free appearance.
The Full Readiness Checklist
Work through each group in order. Items marked must are non-negotiable for a safe, functional installation. Should items are strongly recommended. Nice to have items improve the finished result but are genuinely optional.
Wall Assessment
Mount and TV Compatibility
Viewing Height and Placement
Cable Management and Power
Final Pre-Drill Verification
In-Wall Power Cables Require Rated Products
Running a standard extension cord or non-rated power cable inside a wall cavity is a fire hazard and violates electrical code in most US jurisdictions. If you need power inside the wall, use only UL-listed in-wall rated power kits, or have a licensed electrician install a recessed outlet. When in doubt, route power cables externally using a cable raceway and keep only low-voltage cables (HDMI, ethernet) inside the wall.
After the Checklist: What to Do With What You Find
If your checklist reveals a concrete or brick wall, metal stud framing, or wiring running through your intended drill zone, stop and consult a licensed professional. These conditions change the hardware, technique, and sometimes the permits required - getting them wrong risks mount failure, electrical hazards, or structural damage.
If everything checks out cleanly, proceed with confidence. The upfront time spent on this checklist is far less disruptive than patching drywall, repositioning a bracket, or untangling a cable run that was never planned properly.
Mounting decisions share a common thread with other placement challenges - the same deliberate approach covered in our guide on getting vehicle phone mount placement right applies here: location and preparation matter more than the hardware itself. If you're setting up a home from scratch, see our notes on which home essentials to tackle first to understand where a TV wall mount fits in the broader sequence.
The content on this site is provided for informational purposes only and should not be considered a substitute for professional advice. While we strive to provide accurate and up-to-date information, we make no guarantees regarding its completeness or accuracy. Always consult a qualified professional for advice specific to your circumstances before making any decisions.