

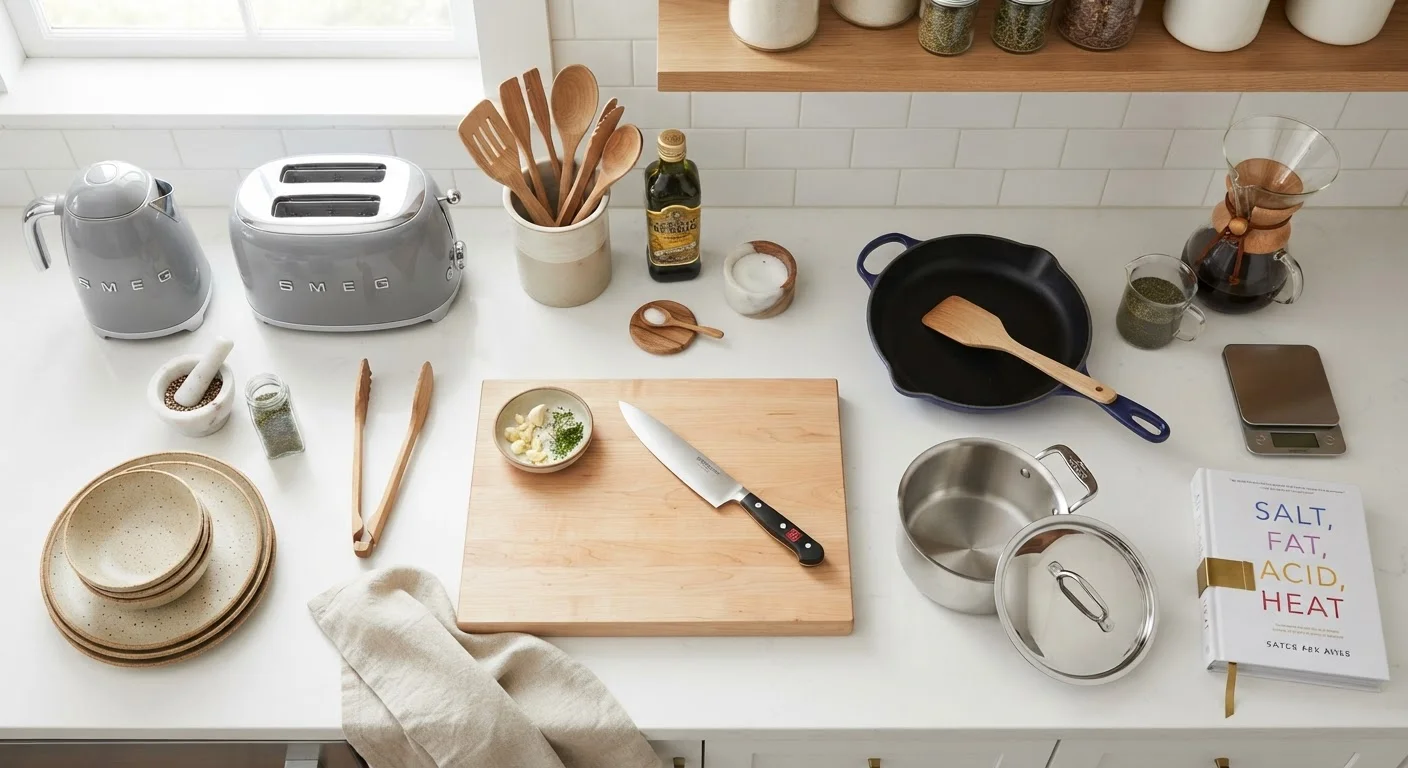
Summary
22 items · 30-60 minutes
Why a Kitchen Audit Is Worth the Effort
Most kitchen clutter doesn't arrive all at once. It accumulates - a gadget here, a gift appliance there, duplicates picked up over years of moving and merging households. The result is a kitchen where finding the right tool takes longer than using it, and counter space is perpetually contested.
A kitchen audit is a deliberate, one-time review that brings clarity. You pull everything out, evaluate it against real criteria, and make conscious decisions about what belongs where. The goal isn't minimalism for its own sake - it's a kitchen that supports the way you actually cook.
If you're setting up a kitchen for the first time, this process helps you start with intention rather than accumulation. For established cooks, it's a reset that often surfaces forgotten tools and exposes redundancies.
Knives and Cutting Tools
Cookware and Bakeware
Small Appliances
Utensils, Gadgets, and Miscellaneous Tools
Storage Containers and Pantry Gear
What You'll Need Before You Start
Gather a few basic supplies to make the process efficient. You'll also want a clear surface - a kitchen table or countertop - large enough to spread items out by category.
Permanent marker or sticky notes
Label items destined for storage or donation during the audit so decisions don't get mixed up mid-process.
Three bins or boxes
Physically separate items into keep, store, and let-go categories as you work through each zone.
Cleaning cloth and mild cleaner
Wipe down cabinet interiors and drawer liners once emptied - an audit is a practical moment to clean surfaces you rarely access.
Notepad or phone notes app
Record genuine gaps identified during the audit - items you reach for but don't own - so future purchases are intentional rather than impulsive.
Once you have these on hand, plan to work through one zone at a time: drawers, lower cabinets, upper cabinets, pantry shelves, and countertop appliances. This zone-by-zone approach prevents overwhelm and makes it easier to see what you actually have.
Applying Your Decisions: Store, Donate, or Discard
After running each item through the checklist, you'll have three piles: keep, store, and let go. Each needs a clear destination before you're done.
Don't Discard Before You've Decided
Avoid making permanent decisions under time pressure. If you're unsure about an item, box it for storage with a date label - if you haven't retrieved it in six to twelve months, that's clear evidence it can go. Rushing the let-go pile and later regretting it leads to repurchasing items you already owned.
Keep items go back into the most accessible spots - prime cabinet real estate and your most-used drawer. Store items belong in upper cabinets, a pantry shelf, or a dedicated bin - somewhere retrievable but out of the daily workflow. If a stored item doesn't come out within a full year, that's a reliable signal it can be let go.
For items in the let-go pile, consider condition first. Functional items in good shape are candidates for donation; worn, damaged, or expired items should be discarded. Many cities and towns have programs for donating usable kitchen goods to community organizations, so those gently used duplicates don't have to go to landfill.
Once the physical audit is done, think about what comes in next. A clear-eyed system for evaluating new purchases before they enter your kitchen is as important as the audit itself. Decluttering stalls without a plan for what arrives - the audit is only durable if you apply the same criteria to future acquisitions.
For ideas on how to make a streamlined kitchen work harder, see organizing principles for small kitchens - many of the strategies apply regardless of kitchen size.
Damaged Electrical Equipment Is a Safety Issue
Any small appliance with a frayed cord, exposed wiring, or a damaged plug should be taken out of service immediately - not stored for later evaluation. Do not attempt to repair electrical cords yourself unless you are qualified to do so. Dispose of damaged appliances through your municipality's e-waste or hazardous material collection program, not in standard household trash.
The content on this site is provided for informational purposes only and should not be considered a substitute for professional advice. While we strive to provide accurate and up-to-date information, we make no guarantees regarding its completeness or accuracy. Always consult a qualified professional for advice specific to your circumstances before making any decisions.