

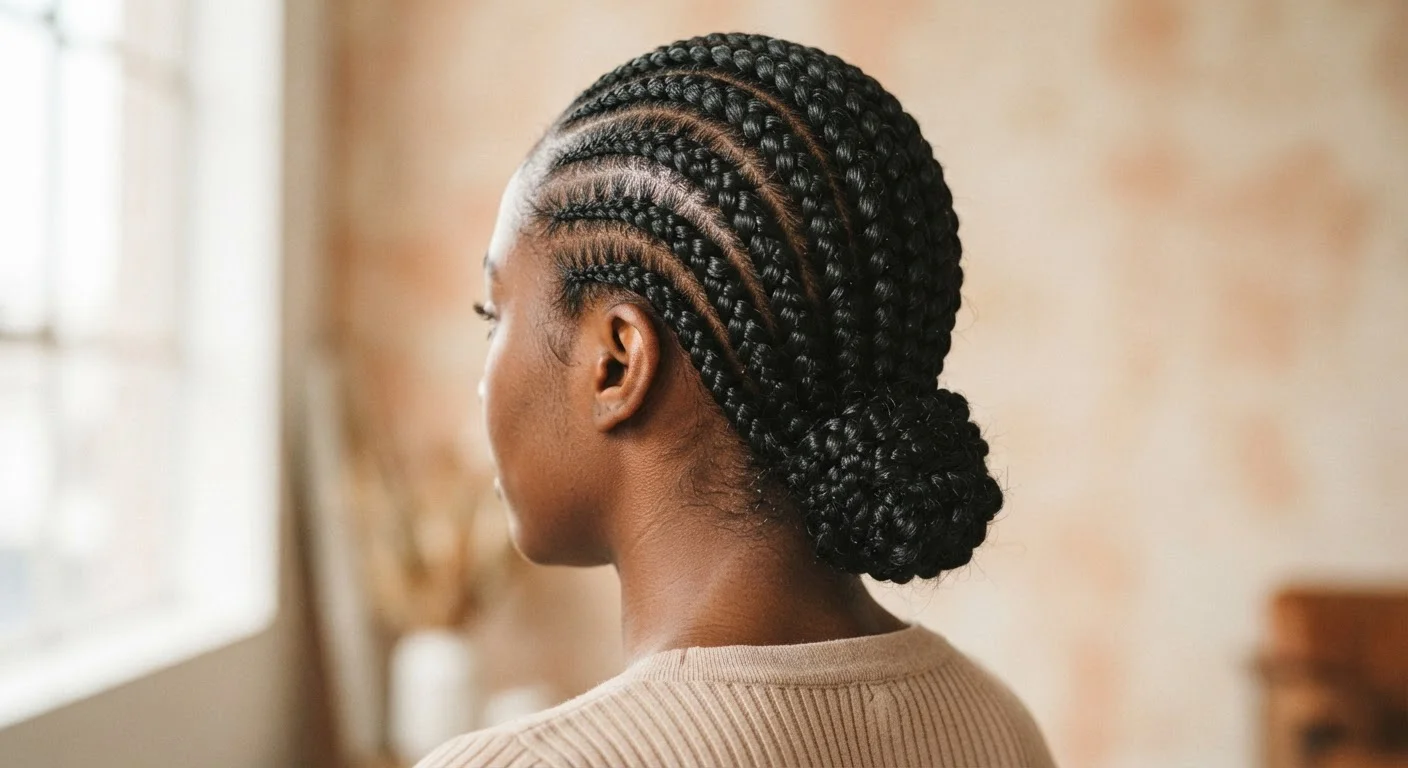
What 'Protective' Actually Means
A protective style shields the ends of your hair - the oldest, most fragile part of the strand - from daily friction, manipulation, and environmental exposure. When the ends are tucked away and left largely undisturbed, the hair retains more length over time and experiences less mechanical damage. Braids, twists, locs, buns, and extensions all fall under this umbrella when executed properly.
The catch is that protection is conditional. A style that pulls too tightly, sits on unwashed hair, or stays in place for months stops being protective and becomes a source of damage. Understanding what the term actually requires shifts the conversation from which style to choose to how to approach any style you choose.
If you're noticing breakage or scalp changes even between styles, it may be worth reviewing whether your broader routine is serving your hair. The checklist in "Signs Your Hair Routine Needs a Reset" can help you identify whether the issue predates your protective styling habits.
Core Principles for Genuinely Protective Styling
The following practices reflect what hair care professionals and dermatologists consistently emphasize when discussing the long-term health outcomes of protective styling.
Always start with clean, well-moisturized hair before any installation.
Installing a style over buildup or dry hair traps debris against the scalp and locks moisture-depleted strands into a fixed position, making them more prone to snapping. A clean foundation also allows any pre-installation treatments to fully absorb.
Insist on tension-appropriate installation - never tolerate pain at the root.
Traction alopecia, a form of gradual hair loss along the hairline and temples, is directly linked to chronic tension from tight styles. Pain during or immediately after installation is a warning sign, not a normal part of the process.
Set a firm wear-time limit and stick to it.
As a style ages past six to eight weeks, shed hairs (which fall naturally every day) accumulate and tangle around the live strands inside braids or twists. When the style is eventually removed, those shed hairs can cause significant knots and breakage.
Maintain scalp health throughout the wear period with lightweight, targeted care.
The scalp continues to produce oil and accumulate dead skin cells whether or not it's visible. Ignoring it for weeks creates an environment that can inhibit follicle health and lead to itching, flaking, or mild inflammation.
Give hair a genuine rest period between protective style installations.
Rotating directly from one set of braids into another without a break denies hair the open-wear time it needs to be properly assessed, treated, and conditioned. Rest periods allow you to catch breakage, dryness, or scalp issues before they compound.
Choose extension weight and length proportional to your natural hair's density.
Heavy or very long extensions create a pulling effect that can stress the follicle over time, particularly in finer or lower-density hair. Matching extension weight to what your strands can comfortably support reduces long-term tension load.
Starting Conditions Matter More Than You Think
Many people reach for a protective style when their hair is already struggling - dry, brittle, or breaking. While reducing manipulation can help, it won't reverse existing structural damage. A protective style installed over fragile hair simply hides the problem without addressing it.
Treat First, Style Later
If your hair is actively breaking or severely dry, consider a structured treatment period before your next protective style installation. Deep conditioning masks, protein treatments, and trimming split ends first give you a stronger starting point. A protective style layered over already-compromised hair can delay the care your strands actually need.
If your hair is already showing signs of breakage or split ends, consider whether a treatment phase should come before your next installation. "Trimming vs. Treatments" walks through how to tell the difference and which approach fits different damage patterns.
For those with highly textured hair - particularly Type 4 curl patterns - the relationship between protective styling and moisture retention is especially important to understand. "Natural Hair Textures: What Defines Type 4 Hair" covers how the structure of tightly coiled strands affects care decisions at every stage.
Maintenance During the Wear Period
Installing a protective style is only the beginning. The weeks that follow require consistent, lightweight attention to scalp health without disturbing the style itself. Scalp oils and diluted cleansing sprays allow you to manage buildup at the root without unraveling braids or twists. Neglecting this step leads to clogged follicles, dandruff, and sometimes inflammation - none of which support healthy growth.
Nighttime care is also non-negotiable. A satin or silk pillowcase - or a satin-lined bonnet - reduces friction on the exposed portions of your hair and helps the style maintain its appearance longer. Edges and the hairline are particularly vulnerable to dryness and breakage during extended wear.
If your styling routine before going protective included frequent heat use, the resting period in a protective style is a good opportunity to recalibrate. "Heat Styling Frequency: How Often Is Too Often for Your Hair Type?" outlines how heat history affects hair condition and what recovery can realistically look like.
Knowing When - and How - to Take It Down
Removal is where a lot of protective styling damage actually happens. Rushing the takedown process, skipping detangling product, or pulling at matted sections can cause more breakage in a single session than weeks of regular styling. Work slowly, from ends to roots, with a generous amount of slip product - a conditioner or detangling spray - applied throughout.
After removal, a clarifying or gentle cleansing wash followed by a deep conditioning treatment helps reset the hair before the next phase, whether that's another protective style or a period of open wearing. Building this transition step into your routine prevents compounding damage across back-to-back installations.
This article is for general informational purposes only and does not constitute medical or dermatological advice. If you are experiencing scalp pain, significant hair shedding, or signs of traction alopecia, consult a qualified healthcare provider or licensed trichologist.
The content on this site is provided for informational purposes only and should not be considered a substitute for professional advice. While we strive to provide accurate and up-to-date information, we make no guarantees regarding its completeness or accuracy. Always consult a qualified professional for advice specific to your circumstances before making any decisions.