

Why Tyre Pressure and Tread Depth Matter
Tyres are the only parts of your vehicle that actually touch the road, making their condition foundational to safe driving. Correct inflation keeps the tyre's contact patch - the footprint where rubber meets asphalt - the right size and shape. Under-inflated tyres flex excessively, generate heat, wear faster at the edges, and can delaminate at highway speeds. Over-inflated tyres wear prematurely at the centre, reduce grip, and transmit road impacts more harshly through the suspension.
Tread depth determines how effectively a tyre channels water away from the contact patch. Grooves act like drains: as tread wears down, a tyre's ability to evacuate water in wet conditions drops sharply, increasing the risk of hydroplaning - where the tyre rides on a film of water rather than gripping the road surface.
If your dashboard warning light has come on, understanding what it means is a useful first step. See our article on reading a tyre pressure monitoring system before you reach for the gauge. Note that TPMS sensors are not a substitute for manual checks - they typically alert only after pressure has dropped significantly.
Never Use the Sidewall Number as Your Target
The PSI figure moulded into the tyre sidewall is the maximum pressure the tyre can physically hold - not the pressure your vehicle requires. Using that number risks an over-inflated tyre with a harsh ride, reduced contact patch, and elevated blowout risk. Always use the placard on your driver's door jamb or your owner's manual for the correct target pressure.
What You'll Need
This task requires minimal equipment, most of which costs under $20 and fits in a glove box. Having your own gauge removes the guesswork of relying on petrol station equipment, which is often poorly calibrated.
What you will need
Tyre pressure gauge (digital or dial)
Measures tyre pressure accurately in PSI; more reliable than the gauges on petrol station air hoses.
Tread depth gauge
Provides a precise millimetre or 32nd-inch reading of remaining tread across multiple grooves.
Penny or quarter (coin)
Used for a quick visual tread check when a dedicated gauge is not available.
Tyre inflator or air compressor
Adds air to bring an under-inflated tyre up to the target pressure.
Valve cap (spare)
Replaces a missing cap to keep moisture and dirt out of the valve stem.
Step-by-Step Instructions
Work through all four tyres in sequence. The full process - pressure check, inflation adjustment, and tread measurement - typically takes 10 to 20 minutes for a vehicle you're familiar with.
Locate Your Recommended Tyre Pressure
Open the driver's door and look for the tyre information placard on the door jamb or door edge. It lists the recommended cold inflation pressure in PSI (pounds per square inch) for front and rear tyres - these figures may differ. If you cannot find the placard, check your owner's manual. Write the numbers down before you begin.
Remove the Valve Cap and Seat the Gauge
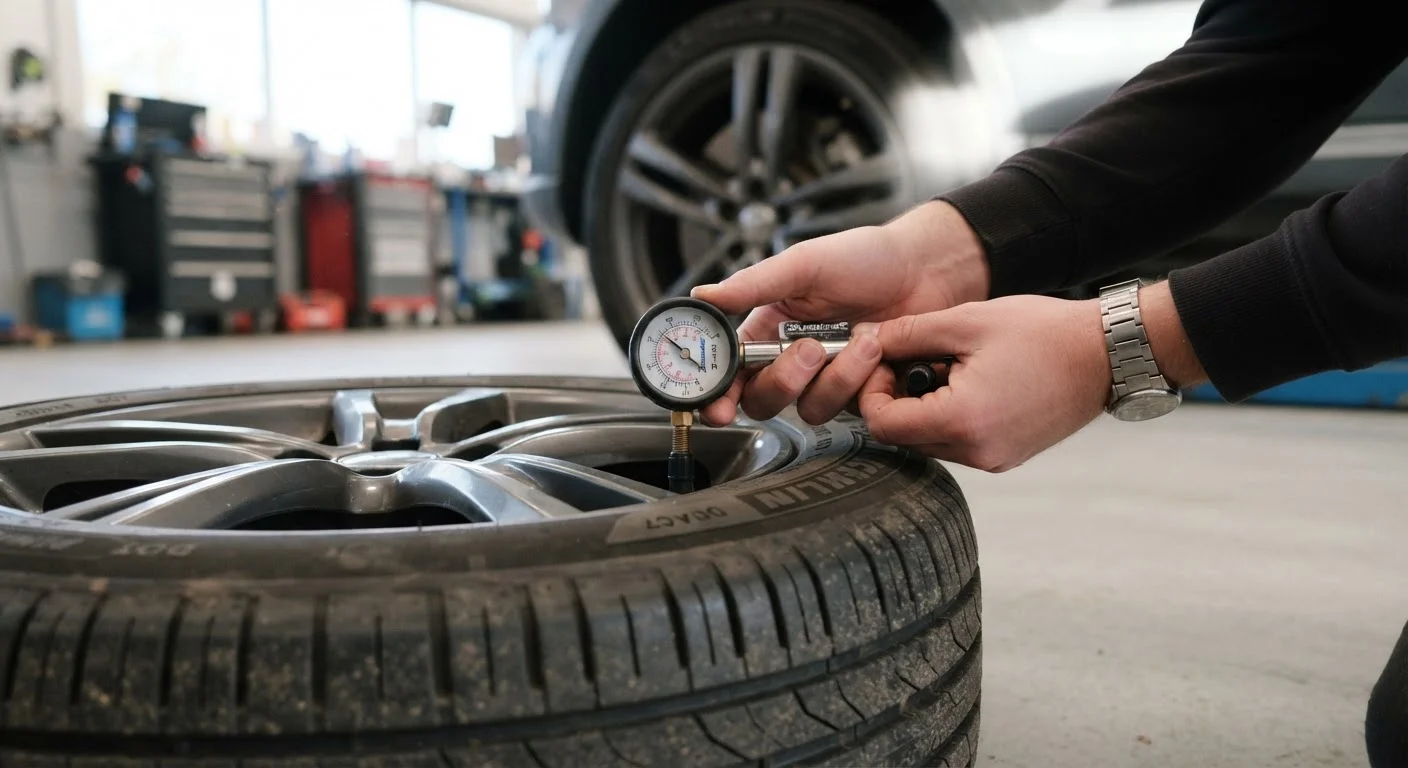
Unscrew the small rubber or metal cap from the valve stem on the first tyre and set it somewhere you won't lose it. Press the open end of your pressure gauge firmly and squarely onto the valve stem. A brief hiss of air is normal; steady the gauge and wait for the reading to stabilise. Note the PSI reading and repeat for all four tyres - plus the spare if your vehicle carries a full-size spare.
Inflate or Deflate to the Target Pressure
Compare each reading to the placard values. If a tyre is low, attach an inflator and add air in short bursts, re-checking frequently to avoid over-inflation. If a tyre is over the target, depress the small pin in the centre of the valve stem with a fingernail or the back of the gauge nib to release air in short pulses, then recheck. Replace the valve caps when done.
If you notice one tyre losing pressure repeatedly, that points to a slow leak - have it inspected professionally. Our guide on portable tyre inflators explains what to carry for roadside emergencies.
Check Tread Depth with a Gauge
Insert the probe of the tread depth gauge into the tyre's main groove - not on a raised wear indicator bar - and press the shoulders flat against the tread surface. Read the measurement. Check at least three positions across the tyre width and at the front, middle, and rear of the contact area to detect uneven wear. Record the shallowest reading; that's your working figure. Repeat on all four tyres.
- 4/32 inch (3.2 mm) or more: Good condition
- 3/32 inch (2.4 mm): Plan for replacement soon
- 2/32 inch (1.6 mm): US legal minimum - replace immediately
Use the Penny Test as a Quick Secondary Check
Hold a Lincoln-head penny with Lincoln's head pointing down and insert it into the tread groove. If you can see the top of Lincoln's head, the tread is at or below 2/32 inch and the tyre needs immediate replacement. For a slightly earlier warning, use a quarter the same way: if you can see the top of Washington's head, you're at approximately 4/32 inch - time to plan a replacement visit.
Know When to Visit a Tyre Professional
Take your vehicle to a qualified tyre shop if you find any of the following: tread at or below 2/32 inch on any tyre, a tyre that keeps losing pressure between checks, visible sidewall bulges or cracking, or a persistent vibration that inflation correction doesn't resolve. These are beyond straightforward driver maintenance. For a broader view of which checks stay DIY and which require professional attention, see our guide on DIY car checks vs. taking it to a mechanic.
Build It Into a Monthly Habit
Tyre pressure drops roughly 1 PSI for every 10°F fall in ambient temperature, so what was correct in summer may be meaningfully low by November. A quick pressure check on the first of each month - and again after a significant temperature swing - takes under five minutes and keeps you ahead of slow leaks too. Pair this with the broader checks in our seasonal car maintenance checklist.
Interpreting What You Find
Consistent low pressure across all tyres after a cold spell is normal and correctable by inflating to spec. One tyre consistently lower than the others, however, suggests a slow leak - from a puncture, a faulty valve stem, or a bead seal issue - that a shop should inspect.
Tread wear patterns reveal a lot. Wear concentrated in the centre of the tread suggests the tyre has been chronically over-inflated. Wear at both outer edges points to chronic under-inflation. Wear on just one edge usually indicates a wheel alignment problem. Cupping or scalloping across the tread can signal worn shock absorbers. Any of these patterns warrants a professional evaluation, not just a tyre swap.
New drivers and first-time owners can find a broader introduction to routine vehicle care in our car maintenance from scratch guide, which covers where tyre checks sit within a full maintenance routine.
Tread Below 4/32 Inch in Wet Conditions
Stopping distances increase sharply as tread depth falls below 4/32 inch on wet roads, well before the 2/32 inch legal limit. If you drive regularly in rain or plan to face winter weather, consider replacement at 4/32 inch rather than waiting for the absolute minimum. Don't rely on the legal threshold as a safety target - it's a floor, not a standard.
The content on this site is provided for informational purposes only and should not be considered a substitute for professional advice. While we strive to provide accurate and up-to-date information, we make no guarantees regarding its completeness or accuracy. Always consult a qualified professional for advice specific to your circumstances before making any decisions.