

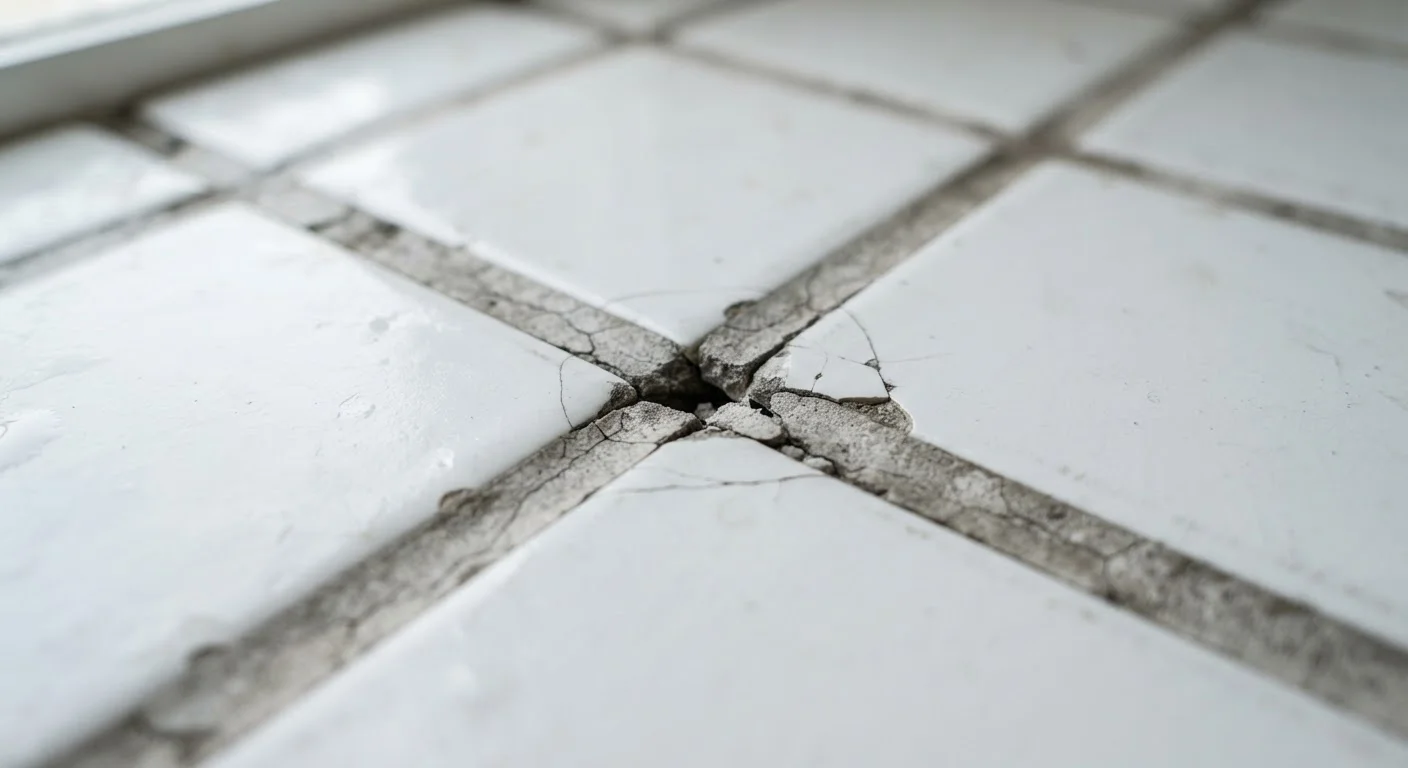
Why Grout Cracks Keep Coming Back
If you've re-grouted the same joints more than once and watched the cracks return within a season, the grout itself probably isn't the problem. Grout is a cement-based material - strong in compression but brittle under flexion. Any ongoing movement in the tile assembly will fracture it, no matter how carefully you apply it.
The most productive question isn't which grout should I use? - it's why is my tile assembly moving? The answer usually falls into one of a few predictable categories: substrate instability, missing flexible joints, installation errors, or the wrong product for the joint size. Understanding which one applies to your situation is the only way to break the cycle.
Cracked Grout Can Lead to Water Damage
In wet areas like showers, tub surrounds, and kitchen backsplashes, cracked grout is an open path for water to reach the substrate underneath. Over time, this can cause mold growth, substrate deterioration, and structural damage that's far more expensive to repair than fixing the grout itself. Address cracks in wet areas promptly.
Common Mistakes That Lead to Cracked Grout
The mistakes below represent the most frequent reasons homeowners and even experienced installers see recurring grout failure. Each one is correctable - but only if you identify it before re-grouting.
Applying grout over a substrate that hasn't fully cured or that flexes under load.
Why it happens: Homeowners often tile directly over plywood subfloors or green drywall that moves slightly when walked on or when humidity changes. Grout is rigid and brittle - it cannot flex with the surface beneath it.
Omitting movement joints at corners, changes of plane, and field transitions.
Why it happens: Many DIYers grout every joint uniformly, unaware that certain locations - especially where walls meet floors and where two tile fields meet - require a flexible joint rather than rigid grout.
Mixing grout with too much water to make it easier to spread.
Why it happens: A wetter mix feels more workable, especially for first-timers. But excess water weakens the grout's final compressive strength and causes it to shrink more as it cures, leading to cracks and crumbling.
Grouting too soon after setting tile, before the mortar has cured.
Why it happens: Eagerness to finish the project leads many people to grout within hours of laying tile. Uncured mortar still contains moisture and hasn't achieved its full bond strength, so the tile assembly moves slightly as the mortar sets.
Using unsanded grout in joints wider than 1/8 inch.
Why it happens: Unsanded grout is smoother and easier to apply, leading some installers to use it for all joint widths. But in wider joints, unsanded grout lacks the aggregate needed to resist shrinkage and cracking as it dries.
For joints in corners, transitions, and perimeter edges, a flexible product is almost always the right call. Our caulk vs. sealant guide breaks down exactly which flexible materials suit different applications and why they outperform rigid grout in those locations.
Don't Just Regrout Over Cracks
Applying fresh grout over cracked grout without diagnosing the cause is a temporary fix that typically fails within months. If the underlying issue - substrate movement, inadequate mortar coverage, or missing expansion joints - isn't corrected first, the new grout will crack in the same places. Take the time to investigate before mixing another batch.
How to Diagnose the Real Cause Before You Regrout
Before mixing a new batch of grout, spend a few minutes testing the assembly. Press firmly on tiles near cracked joints - any hollow sound or slight give indicates poor mortar coverage or a debonded tile that needs to be reset. Check corners and perimeter edges for old, rigid grout that should have been flexible sealant all along.
24-72 hrs
Mortar cure time before grouting
Most thin-set mortar manufacturers recommend waiting at least 24 hours - and up to 72 hours in cool or humid conditions - before applying grout.
1/8"
Maximum joint width for unsanded grout
The Tile Council of North America specifies unsanded grout for joints up to 1/8 inch; wider joints require sanded or specialty grout to resist shrinkage cracking.
Look at the pattern of the cracks. Cracks that follow a straight line across multiple joints often point to a structural crack or control joint in the substrate below. Cracks concentrated around a specific area - near a doorway or a plumbing fixture, for example - may indicate localized deflection. Random, spiderweb-like cracking across the face of the grout more commonly indicates a mix that was too wet or applied too thinly. The pattern is your diagnostic map. Document it with a photo before you start any repair work, and address the root cause before the surface fix.
The content on this site is provided for informational purposes only and should not be considered a substitute for professional advice. While we strive to provide accurate and up-to-date information, we make no guarantees regarding its completeness or accuracy. Always consult a qualified professional for advice specific to your circumstances before making any decisions.