

What You Need Before You Start
Drywall repair covers a wide range of situations - nail pops, small holes from doorknobs, larger damage from plumbing access, or cracked seams that have opened over time. The core technique is similar across all of them, but the scale and texture-matching challenge varies. Understanding what each step accomplishes helps you adapt when things don't go exactly by the book.
What you will need
Setting-type joint compound (hot mud)
Used for filling larger holes and voids - sets by chemical reaction, not evaporation, so it's stronger and shrinks less than all-purpose compound.
All-purpose joint compound (pre-mixed)
Used for finish coats and feathering seam edges; sands easily and accepts paint well.
6", 10", and 12" drywall knives
Different widths allow precise filling on the first coat and wide feathering on finish coats.
Drywall mesh tape or paper tape
Bridges seams and holes to prevent cracking; paper tape is stronger, mesh tape is easier for beginners.
Sanding sponge and 120/220-grit sandpaper
Used between coats to knock down ridges and before painting to achieve a smooth, paint-ready surface.
Drywall primer (PVA or high-build)
Seals repaired areas so finish paint absorbs evenly and doesn't appear dull or patchy.
Texture aerosol or hopper sprayer
Replicates existing wall texture over the repaired patch for a visually seamless result.
How to Repair Drywall: Step by Step
Follow these steps in order. Skipping the drying time between coats is the single most common reason repairs remain visible after painting. Patience here pays off visibly.
Prepare the damaged area
Cut away any torn or loose drywall paper with a utility knife. For holes larger than about half an inch, cut the opening into a clean square or rectangle - irregular shapes are harder to back properly. Remove all dust and debris. If you see any staining from moisture, identify and fix the source before proceeding.
Install backing and apply tape
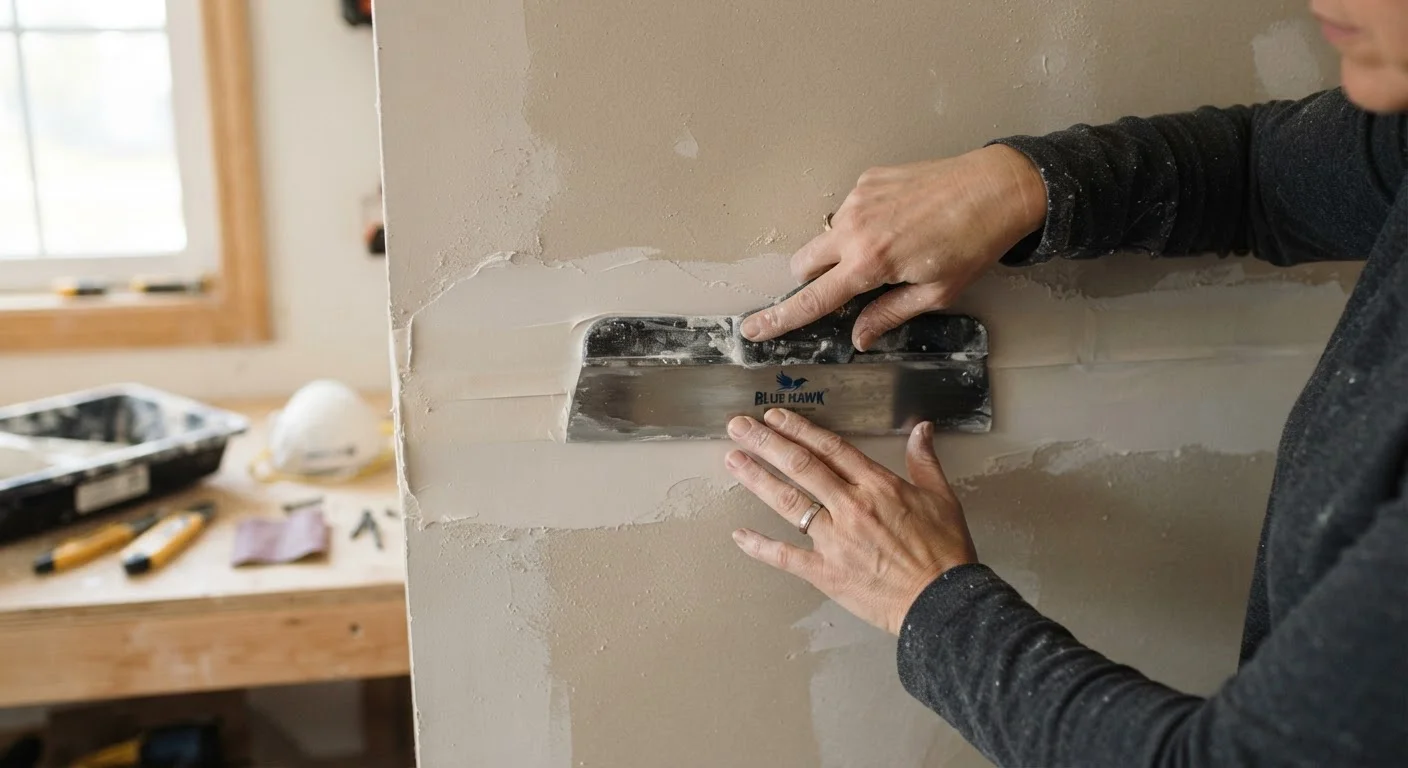
For holes up to about 4 inches, a California patch (using the removed drywall piece itself as a patch backed by the paper facing) or a clip-style drywall backer works well. Larger holes require a piece of drywall cut to fit, secured to wood backing strips or existing studs with drywall screws. Once the patch is flush, apply mesh or paper tape over all seams, pressing firmly with your 6" knife.
Apply the first (filler) coat
Mix setting-type compound if using it - follow package directions for water ratio. Apply a firm first coat over the tape and any low spots, pressing compound into the seam with your knife held at a low angle. This coat doesn't need to be perfect; its job is to fill and embed tape. Scrape off ridges before it dries. Allow to dry completely - setting compound hardens in the stated working time; all-purpose compound requires 24 hours or more depending on humidity.
Sand lightly and apply the second coat
Once fully dry, sand with 120-grit to knock down ridges and high spots. Wipe away dust with a dry cloth. Switch to your 10" knife and apply a wider, thinner coat - feather the edges 4-6 inches beyond the first coat on all sides. Thin all-purpose compound with a small amount of water to a smooth, peanut-butter-like consistency for easier spreading.
Apply a final skim coat and sand smooth
After the second coat dries and is lightly sanded, apply a thin finish skim coat with your 12" knife, extending the feathered edges even further. This coat should be very thin - almost translucent. Once dry, sand with 120-grit first, then finish with 220-grit for a smooth, paint-ready surface. Run your hand across the repair in raking light to check for ridges or depressions before priming.
Keep Your Compound Fresh and Workable
Pre-mixed all-purpose compound dries out quickly once opened. Store unused compound with plastic wrap pressed directly onto the surface to prevent a dried skin from forming. If the compound feels stiff, add a small amount of water and mix thoroughly before applying - lumpy compound drags and leaves ridges.
Texture Matching: The Make-or-Break Step
A structurally sound repair can still look wrong if the texture doesn't match. Common textures include orange peel (small, random bumps applied with compressed air), knockdown (flattened splatters), skip trowel (hand-applied arcs), and smooth. Identify your existing texture in a raking light - hold a flashlight parallel to the wall surface so shadows reveal the pattern clearly.
For orange peel and knockdown, aerosol texture cans work reasonably well on small patches. Practice the spray pattern on cardboard first, adjusting distance and pressure until you replicate the existing look. For skip trowel, apply thinned joint compound in random arcs with a rounded trowel, then knock down the peaks lightly before it fully sets. For large areas or professionally textured walls, renting a hopper sprayer gives you far more control over coverage and droplet size.
Prime before texturing if your patch is freshly mudded. A skim of diluted PVA primer (also called drywall primer) seals the surface so texture compound doesn't absorb unevenly and dry too fast to blend correctly.
Older Homes May Contain Hazardous Materials
Homes built before 1980 may have drywall joint compound, texture coatings, or plaster containing asbestos. Disturbing these materials without proper testing and precautions poses a serious health risk. If your home is from this era, have the area tested by a certified professional before sanding or cutting into walls.
Finishing and Painting for a Seamless Result
Once texture is dry, prime the entire repaired area - and ideally a foot or two beyond it - before painting. Fresh compound and bare paper facing are highly absorbent and will create a dull, flat spot even under the same paint color if left unprimed. A drywall-specific primer or a high-build primer sealer levels out these absorption differences.
When painting, apply at least two finish coats and feather paint slightly beyond the repair boundary. A single coat over a large patch frequently shows texture differences under different lighting conditions. If the wall uses a sheen higher than flat (eggshell, satin, or semi-gloss), the repair zone needs especially careful blending, as higher-sheen paints amplify surface irregularities.
For gaps around trim, window frames, or where walls meet ceilings, joint compound isn't always the right choice. See our guide to caulk vs. sealant to understand when a flexible filler is the better option for movement-prone joints.
The content on this site is provided for informational purposes only and should not be considered a substitute for professional advice. While we strive to provide accurate and up-to-date information, we make no guarantees regarding its completeness or accuracy. Always consult a qualified professional for advice specific to your circumstances before making any decisions.